What a Mess!
The Importance of Proper Dust Control and Clean-Up When Tackling a Drywall Project in Your Home
Home improvement projects, especially drywall installation or repair, are essential to improving the aesthetics and structure of your home. However, these types of renovations can also create a significant amount of dust, which can spread throughout your living space. Drywall dust is a combination of materials that can affect the air quality in your home, create a mess, and even damage surfaces or belongings. Therefore, dust control and clean-up during and after a drywall project are critical to ensuring a smooth and healthy renovation experience.
In this article, we'll discuss the importance of proper dust control, the role of tools like zip walls, vacuum systems, floor coverings, and professional services like Grand Rapids Drywall Services. These essential steps help mitigate dust exposure, protect your home, and ensure an efficient clean-up process after the drywall work is completed.
Understanding Drywall Dust and Its Impact
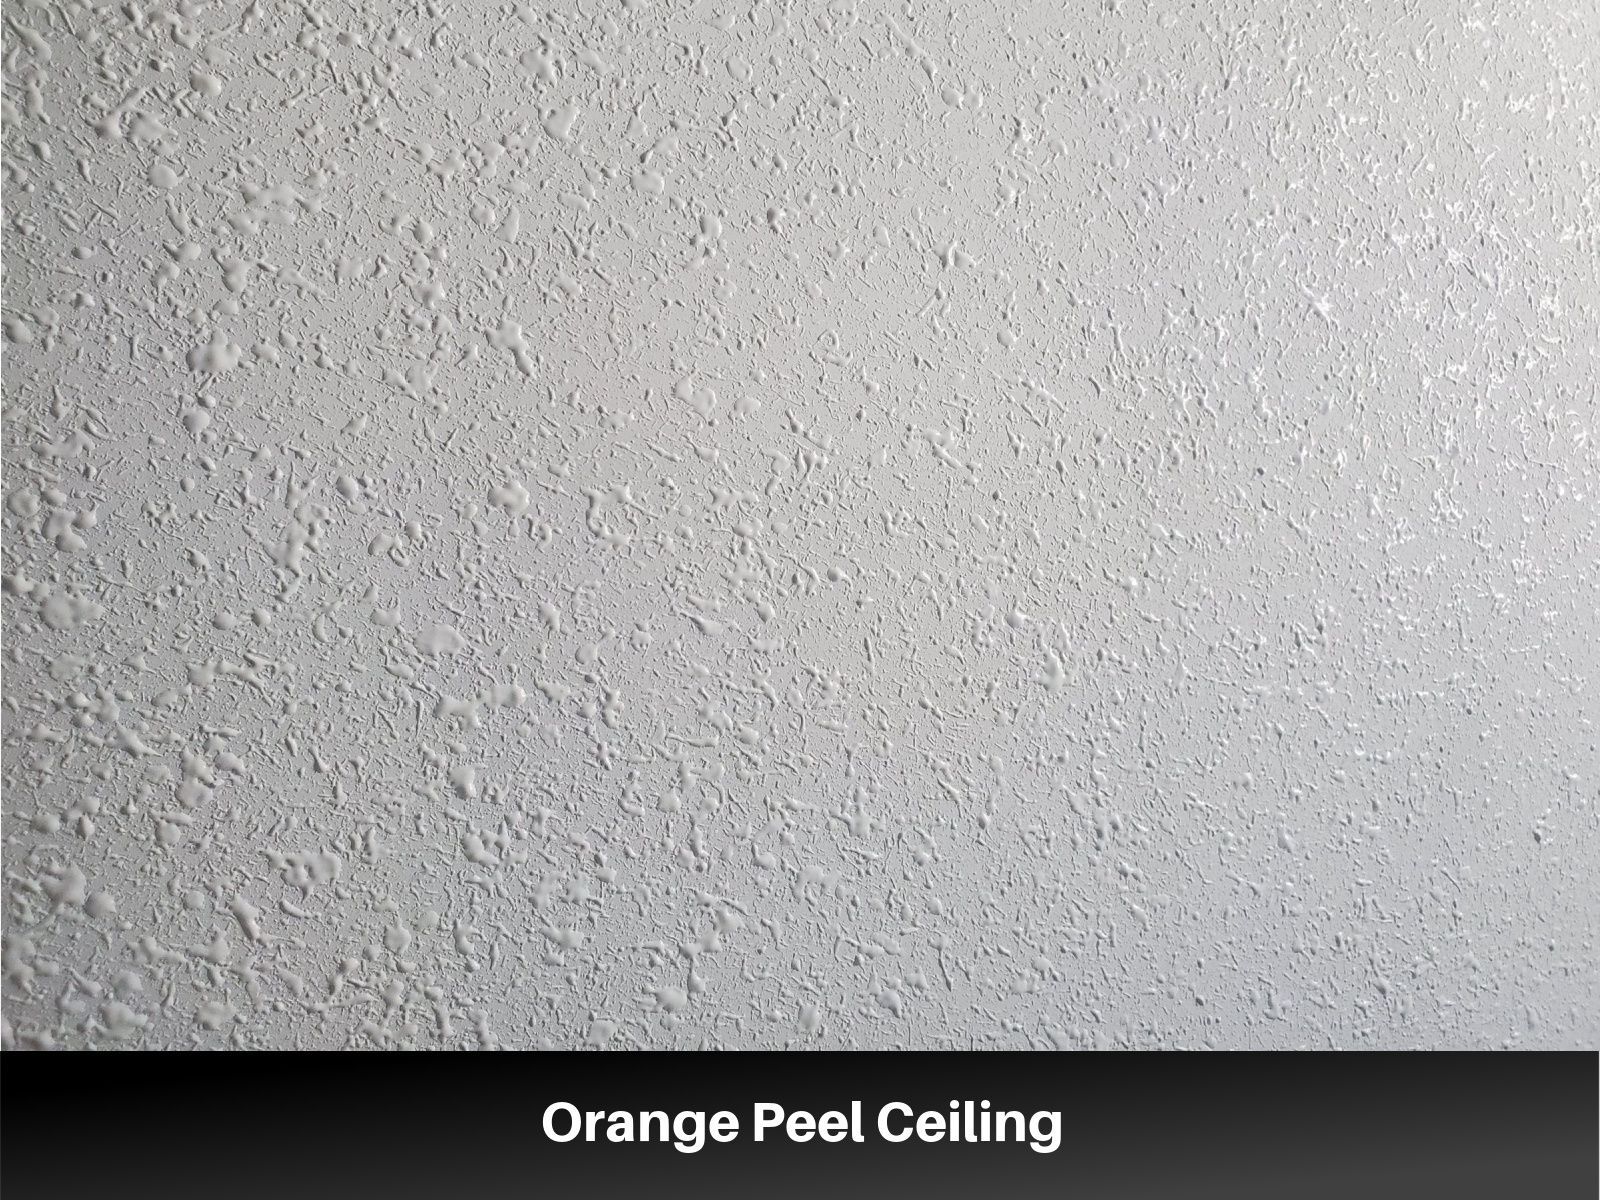
Drywall dust is primarily made up of gypsum, a soft mineral that is often combined with paper to form the sheetrock we commonly use in construction. When cutting, sanding, or drilling into drywall, the resulting particles can spread quickly throughout your home. This fine powder can be very difficult to clean and can cause long-term problems if not controlled properly.
- Health Risks: Inhaling drywall dust can irritate the respiratory system and trigger conditions like asthma, bronchitis, and other lung problems. Those with pre-existing respiratory conditions are especially vulnerable, making it essential to minimize dust exposure.
- Damage to Surfaces and Belongings: Drywall dust can settle on furniture, electronics, and flooring, leaving an unsightly residue that can be difficult to remove. The particles can also infiltrate air vents, spreading the dust further into your home.
- Extended Clean-Up Time: Without proper dust control, cleaning up after a drywall project can take hours or even days. This is not only frustrating but can significantly delay the completion of your home renovation.
Effective Dust Control Methods
To minimize drywall dust during your renovation, it’s crucial to implement effective dust control methods that limit the spread and make clean-up easier. Below are some strategies that are essential for reducing drywall dust:
1. Zip Walls
A zip wall system is an essential tool for drywall dust containment. These temporary barriers are designed to divide rooms, preventing dust from escaping into other parts of the house. The zip wall creates an enclosed area that helps you focus your clean-up efforts within a smaller, more manageable space.
Zip walls are made of durable plastic sheeting that can be easily installed and removed. They are equipped with zippers that provide a convenient entry and exit point, allowing workers to access the workspace without disturbing the barrier. These zip walls are particularly useful in homes with sensitive occupants, like children or those with respiratory issues, as they significantly reduce the amount of airborne dust that spreads throughout your home.
2. Vacuum Systems
Using a vacuum with a HEPA filter is one of the most effective ways to control drywall dust. These high-efficiency vacuum systems are specifically designed to capture fine particles, including the small dust produced during drywall installation or sanding.
Investing in a vacuum that is equipped with a drywall-specific filter will not only help with dust control but also make cleaning much more manageable. During drywall sanding, using a vacuum attachment on your sander can drastically reduce airborne dust by sucking it up directly at the source. This minimizes the amount of dust that escapes into the air, preventing the need for a massive clean-up effort later on.
3. Floor Coverings
Protecting your floors with appropriate floor coverings is essential when performing a drywall project. Drywall dust can settle on your carpet or hardwood floors, making it difficult to clean. Additionally, spills from joint compound or paint can stain these surfaces.
To prevent damage and make clean-up easier, use high-quality drop cloths, plastic sheeting, or painter’s tape to cover your floors. Heavy-duty tarps or paper floor protection can also shield your flooring from drywall dust, debris, and potential spills. These coverings help reduce the risk of damaging your floors and speed up the clean-up process once the job is complete.
4. Sealing Gaps and Openings
Sealing gaps around doors, windows, or ducts can further prevent drywall dust from spreading throughout your home. Before beginning the project, take the time to tape off any cracks or openings where dust may seep through.
In addition, if you're working in areas with ventilation systems, such as air ducts, ensure that these systems are temporarily sealed off. Drywall dust can travel through these systems, making its way into other rooms of the house. A little extra effort in sealing up your space can significantly reduce the amount of dust that accumulates elsewhere.
The Clean-Up Process
Even with proper dust control methods in place, the clean-up process after a drywall project will still require some effort. However, with the right techniques and tools, you can make the process far more manageable. Here are a few steps you can follow to ensure a thorough clean-up:
1. Use a Shop Vacuum
After completing your drywall project, use a shop vacuum with a HEPA filter to collect as much dust as possible. Be sure to vacuum all surfaces, including the floors, walls, and even the ceiling. Focus on corners and edges, where dust tends to collect in larger amounts.
2. Clean All Surfaces
Once you’ve vacuumed the area, wipe down surfaces to remove any remaining dust. Use a damp cloth to avoid pushing dust into the air. Clean your windows, baseboards, and furniture to ensure no dust is left behind. It’s a good idea to clean from top to bottom, starting with higher surfaces like shelves and working your way down to the floor.
3. Clean the Air
To ensure that the air quality in your home is safe after the project, consider using an air purifier with a HEPA filter. This can help capture any remaining dust particles in the air, making it safer to breathe. Keep the air purifier running for a day or two after the drywall work is complete to thoroughly clear out any lingering particles.
Why You Should Consider Professional Help from Grand Rapids Drywall Services
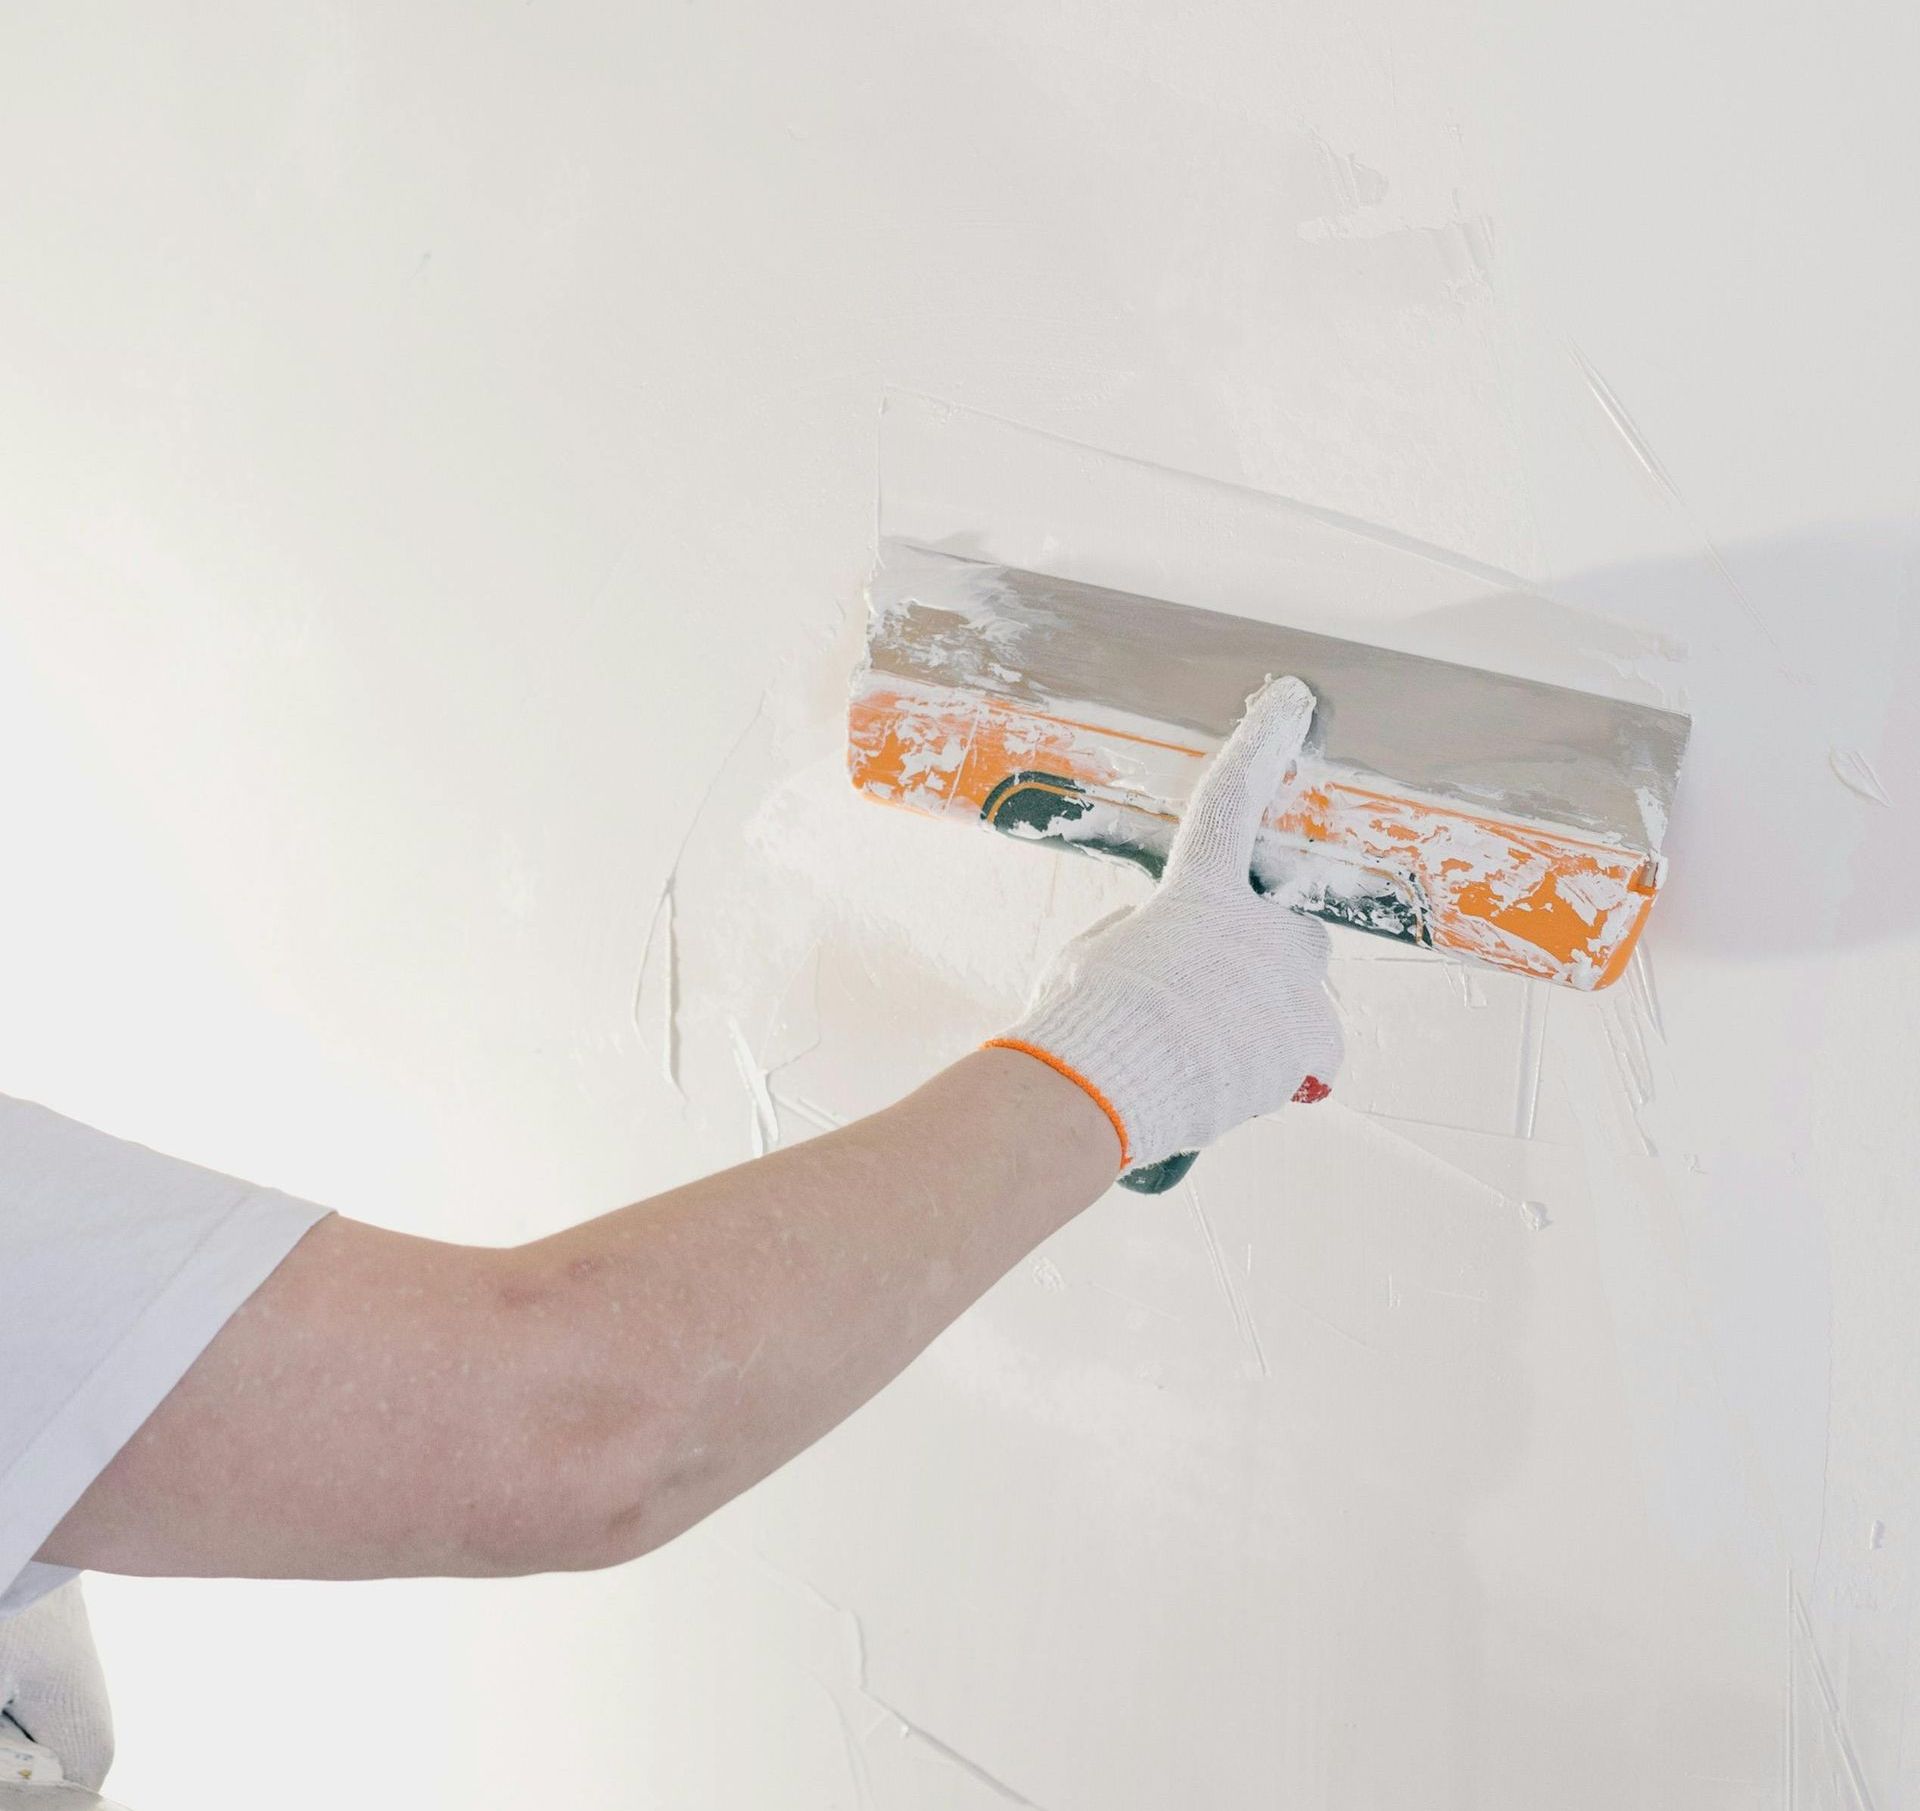
While many DIY enthusiasts choose to handle their drywall projects themselves, it’s often worth considering professional services like Grand Rapids Drywall Services. Professional drywall contractors have the necessary tools, experience, and knowledge to properly manage dust control and ensure a clean and efficient project. They are skilled at installing zip walls, using vacuum systems, and protecting your home from unnecessary dust and debris.
Hiring a professional can save you time and effort, allowing you to focus on other aspects of your renovation while ensuring that the dust is effectively controlled.
Conclusion
Proper dust control and clean-up during a drywall project are essential for maintaining a clean, healthy living environment. Using tools like zip walls, vacuums, and floor coverings can help mitigate the spread of drywall dust, protect your furniture and floors, and simplify the clean-up process. For a more efficient and stress-free experience, consider hiring a professional service like Grand Rapids Drywall Services, who can provide expert dust management and ensure a successful renovation project.
With the right precautions in place, your drywall project can be completed with minimal disruption, allowing you to enjoy your newly renovated space without the headache of excess dust and debris.