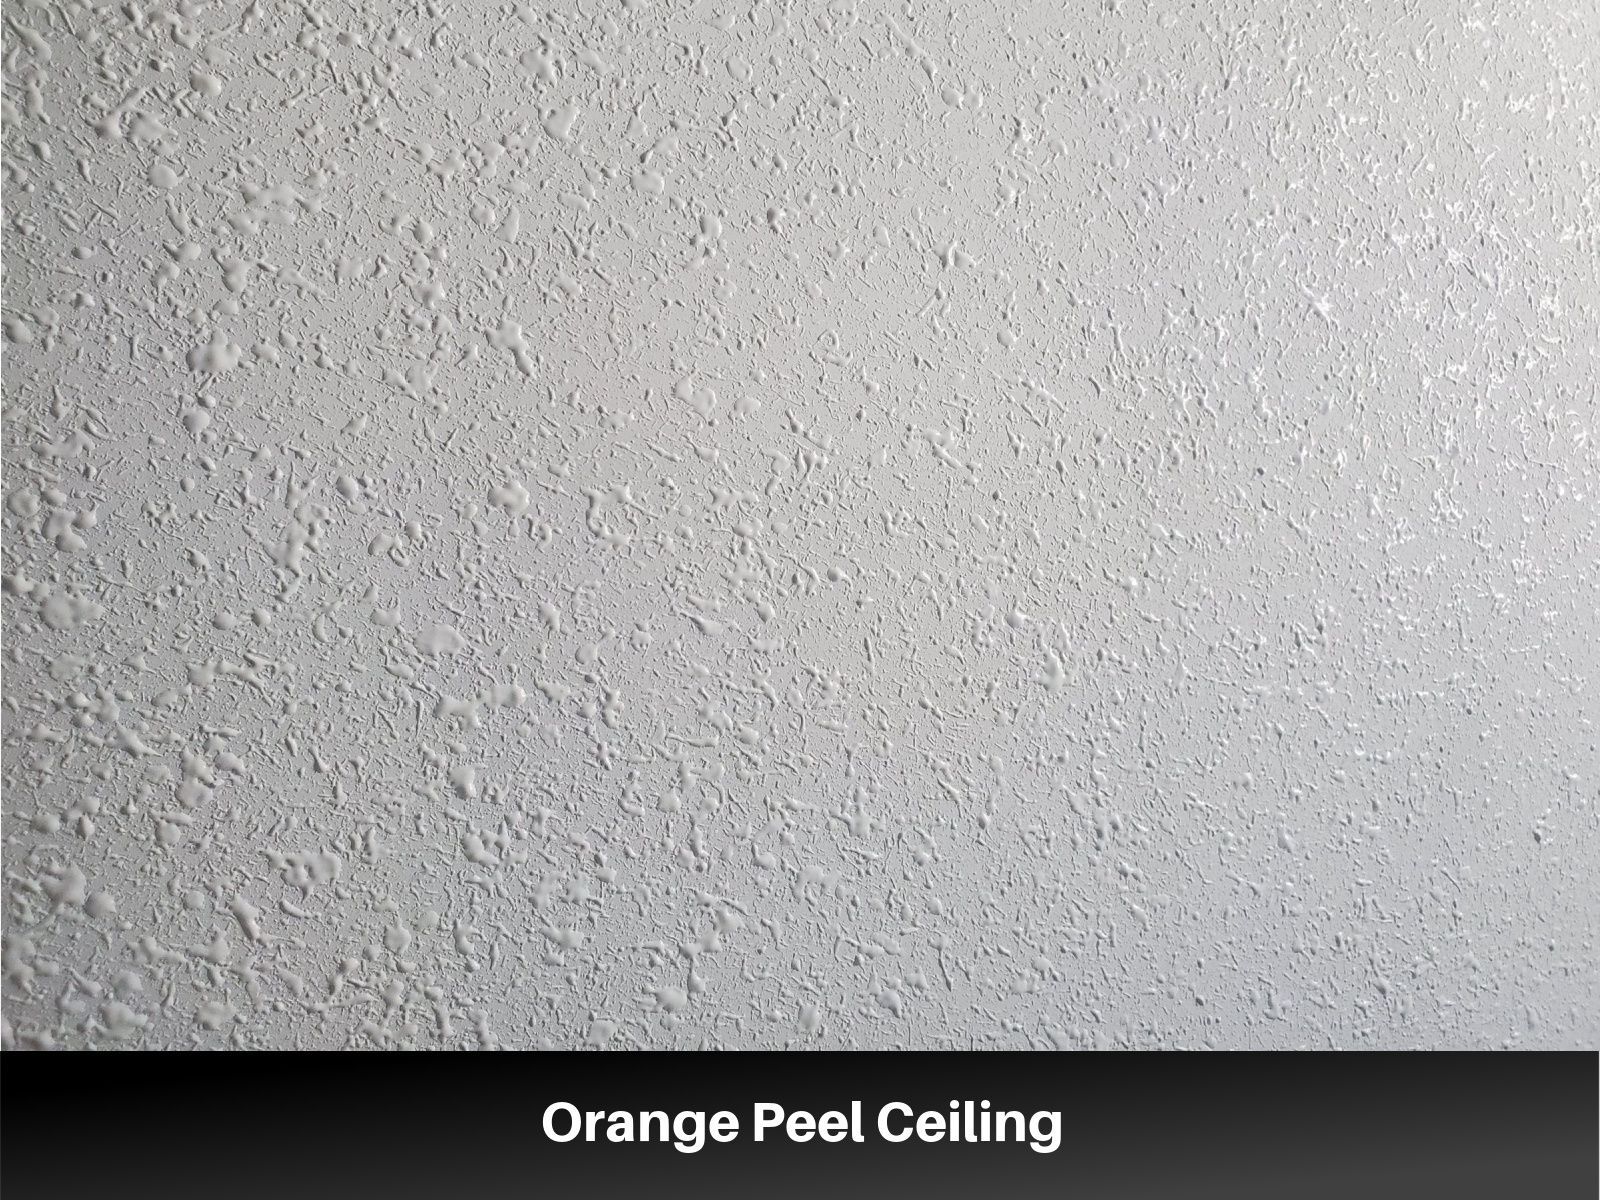
Drywall Prep
Making Sure Your Renovation Project Is Ready for Drywall: A Step-by-Step Guide
Making Sure Your Renovation Project Is Ready for Drywall: A Step-by-Step Guide
Renovating a home can be an exciting yet daunting task, whether you're updating a single room or embarking on a complete overhaul. Drywall installation marks a significant milestone in the renovation process—it's when the transformation from raw construction to a finished space starts to become visible. However, before you can hang that drywall, you need to ensure that everything is in order. This step is crucial for ensuring the success of your renovation and the longevity of your finished space.
In this blog post, we'll walk through the essential steps you need to take to ensure your renovation project is truly ready for drywall installation.
1. Double-Check the Framing
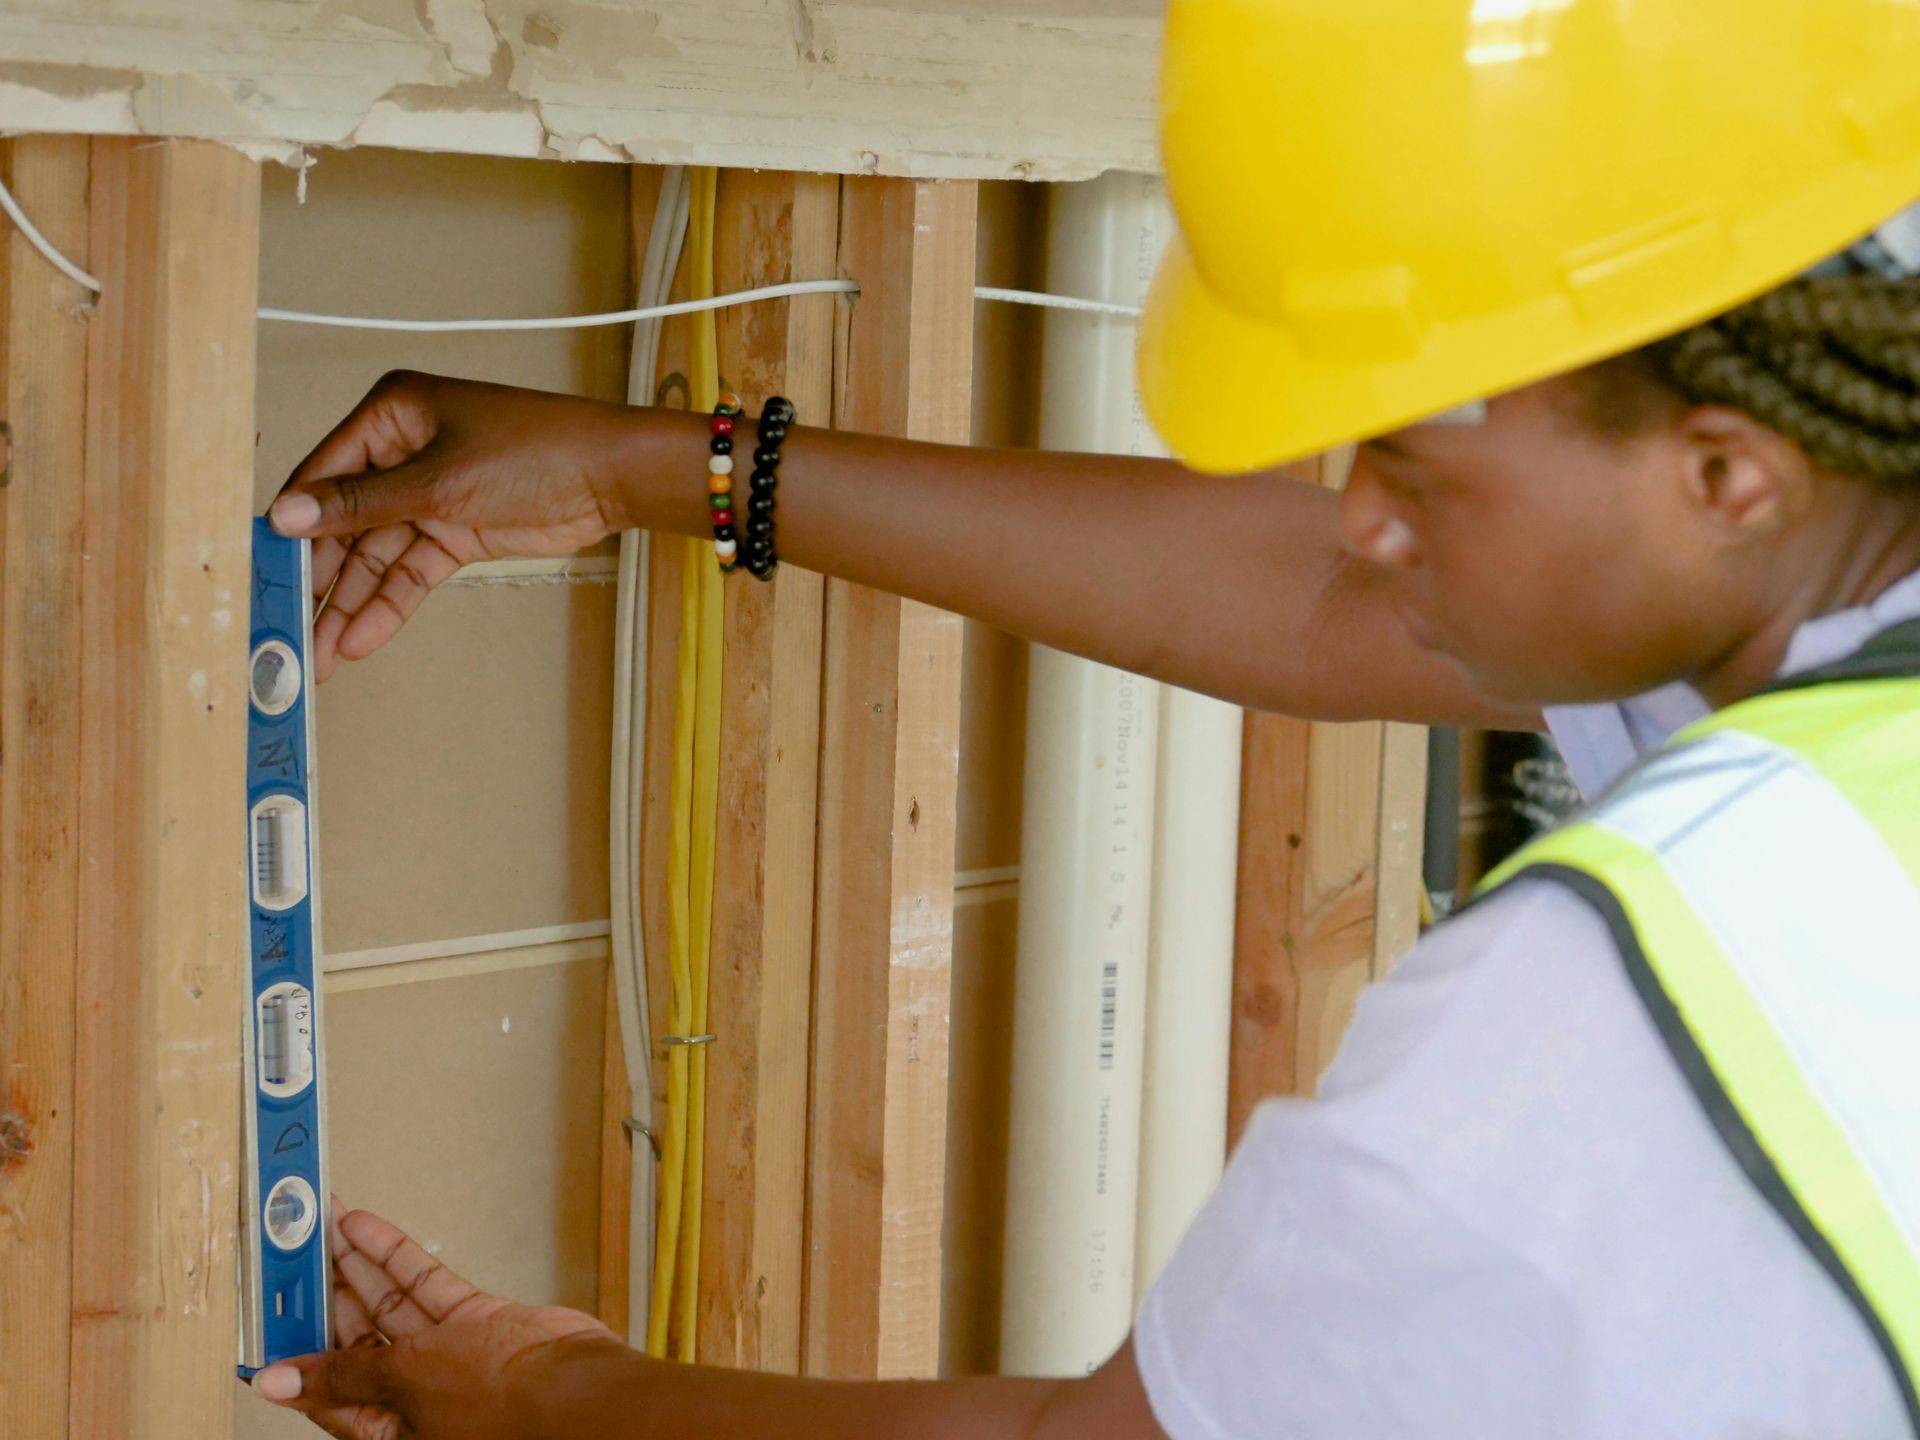
The first step in preparing for drywall is to ensure that your framing is done correctly. Framing forms the skeleton of your walls, and any errors here can lead to problems later on. To make sure everything is aligned:
- Check for Squareness: Ensure all the walls are square, meaning the corners are at 90-degree angles. This is crucial because crooked walls can cause gaps or issues when installing drywall. Use a framing square or a 3-4-5 method (measuring 3 feet on one side, 4 feet on the other, and checking that the diagonal measures 5 feet) to check.
- Ensure Proper Spacing: The studs should be spaced 16 or 24 inches apart (depending on local building codes and the type of wall being built). This ensures that the drywall has a solid backing for support.
- Look for Twisted or Bowed Studs: Any studs that are twisted or bowed can cause uneven drywall placement. These should be corrected or replaced before you move forward.
2. Verify Electrical and Plumbing Rough-ins
Before installing drywall, it’s essential that all electrical and plumbing rough-ins are completed. Electrical wires, outlets, and switches must be properly installed within the framing, while plumbing pipes should be secured and positioned where they need to be.
- Electrical Boxes: Ensure that all electrical boxes are properly mounted and flush with the surface of the studs. If they're set too deep or protruding too far, adjustments should be made before drywall is installed.
- Plumbing: Any plumbing that runs through the walls should be properly secured and positioned. Pipes must be placed at the correct height and location to avoid problems when you hang drywall.
- Check for Inspections: In many jurisdictions, electrical and plumbing installations need to be inspected before you can proceed to the next step. Be sure that these inspections have been passed and that you have the necessary approvals.
3. Ensure Insulation is Installed
Insulation not only provides thermal protection but also soundproofing. Before you can hang drywall, make sure that insulation is installed in the walls, especially in exterior walls and walls between rooms where soundproofing is necessary.
- Type of Insulation: Depending on your climate and specific needs, you might use fiberglass batt insulation, spray foam, or cellulose. Ensure that the insulation is evenly distributed and fills the gaps between studs to prevent air leaks.
- Proper Placement: Insulation should fit snugly between studs, not too compressed or too loose. Gaps in insulation can lead to energy inefficiency, drafts, or uneven temperatures within your home.
- Vapor Barriers: In areas like bathrooms and basements, installing a vapor barrier along with insulation is crucial to prevent moisture buildup, which could lead to mold growth. Make sure vapor barriers are in place before drywall is hung.
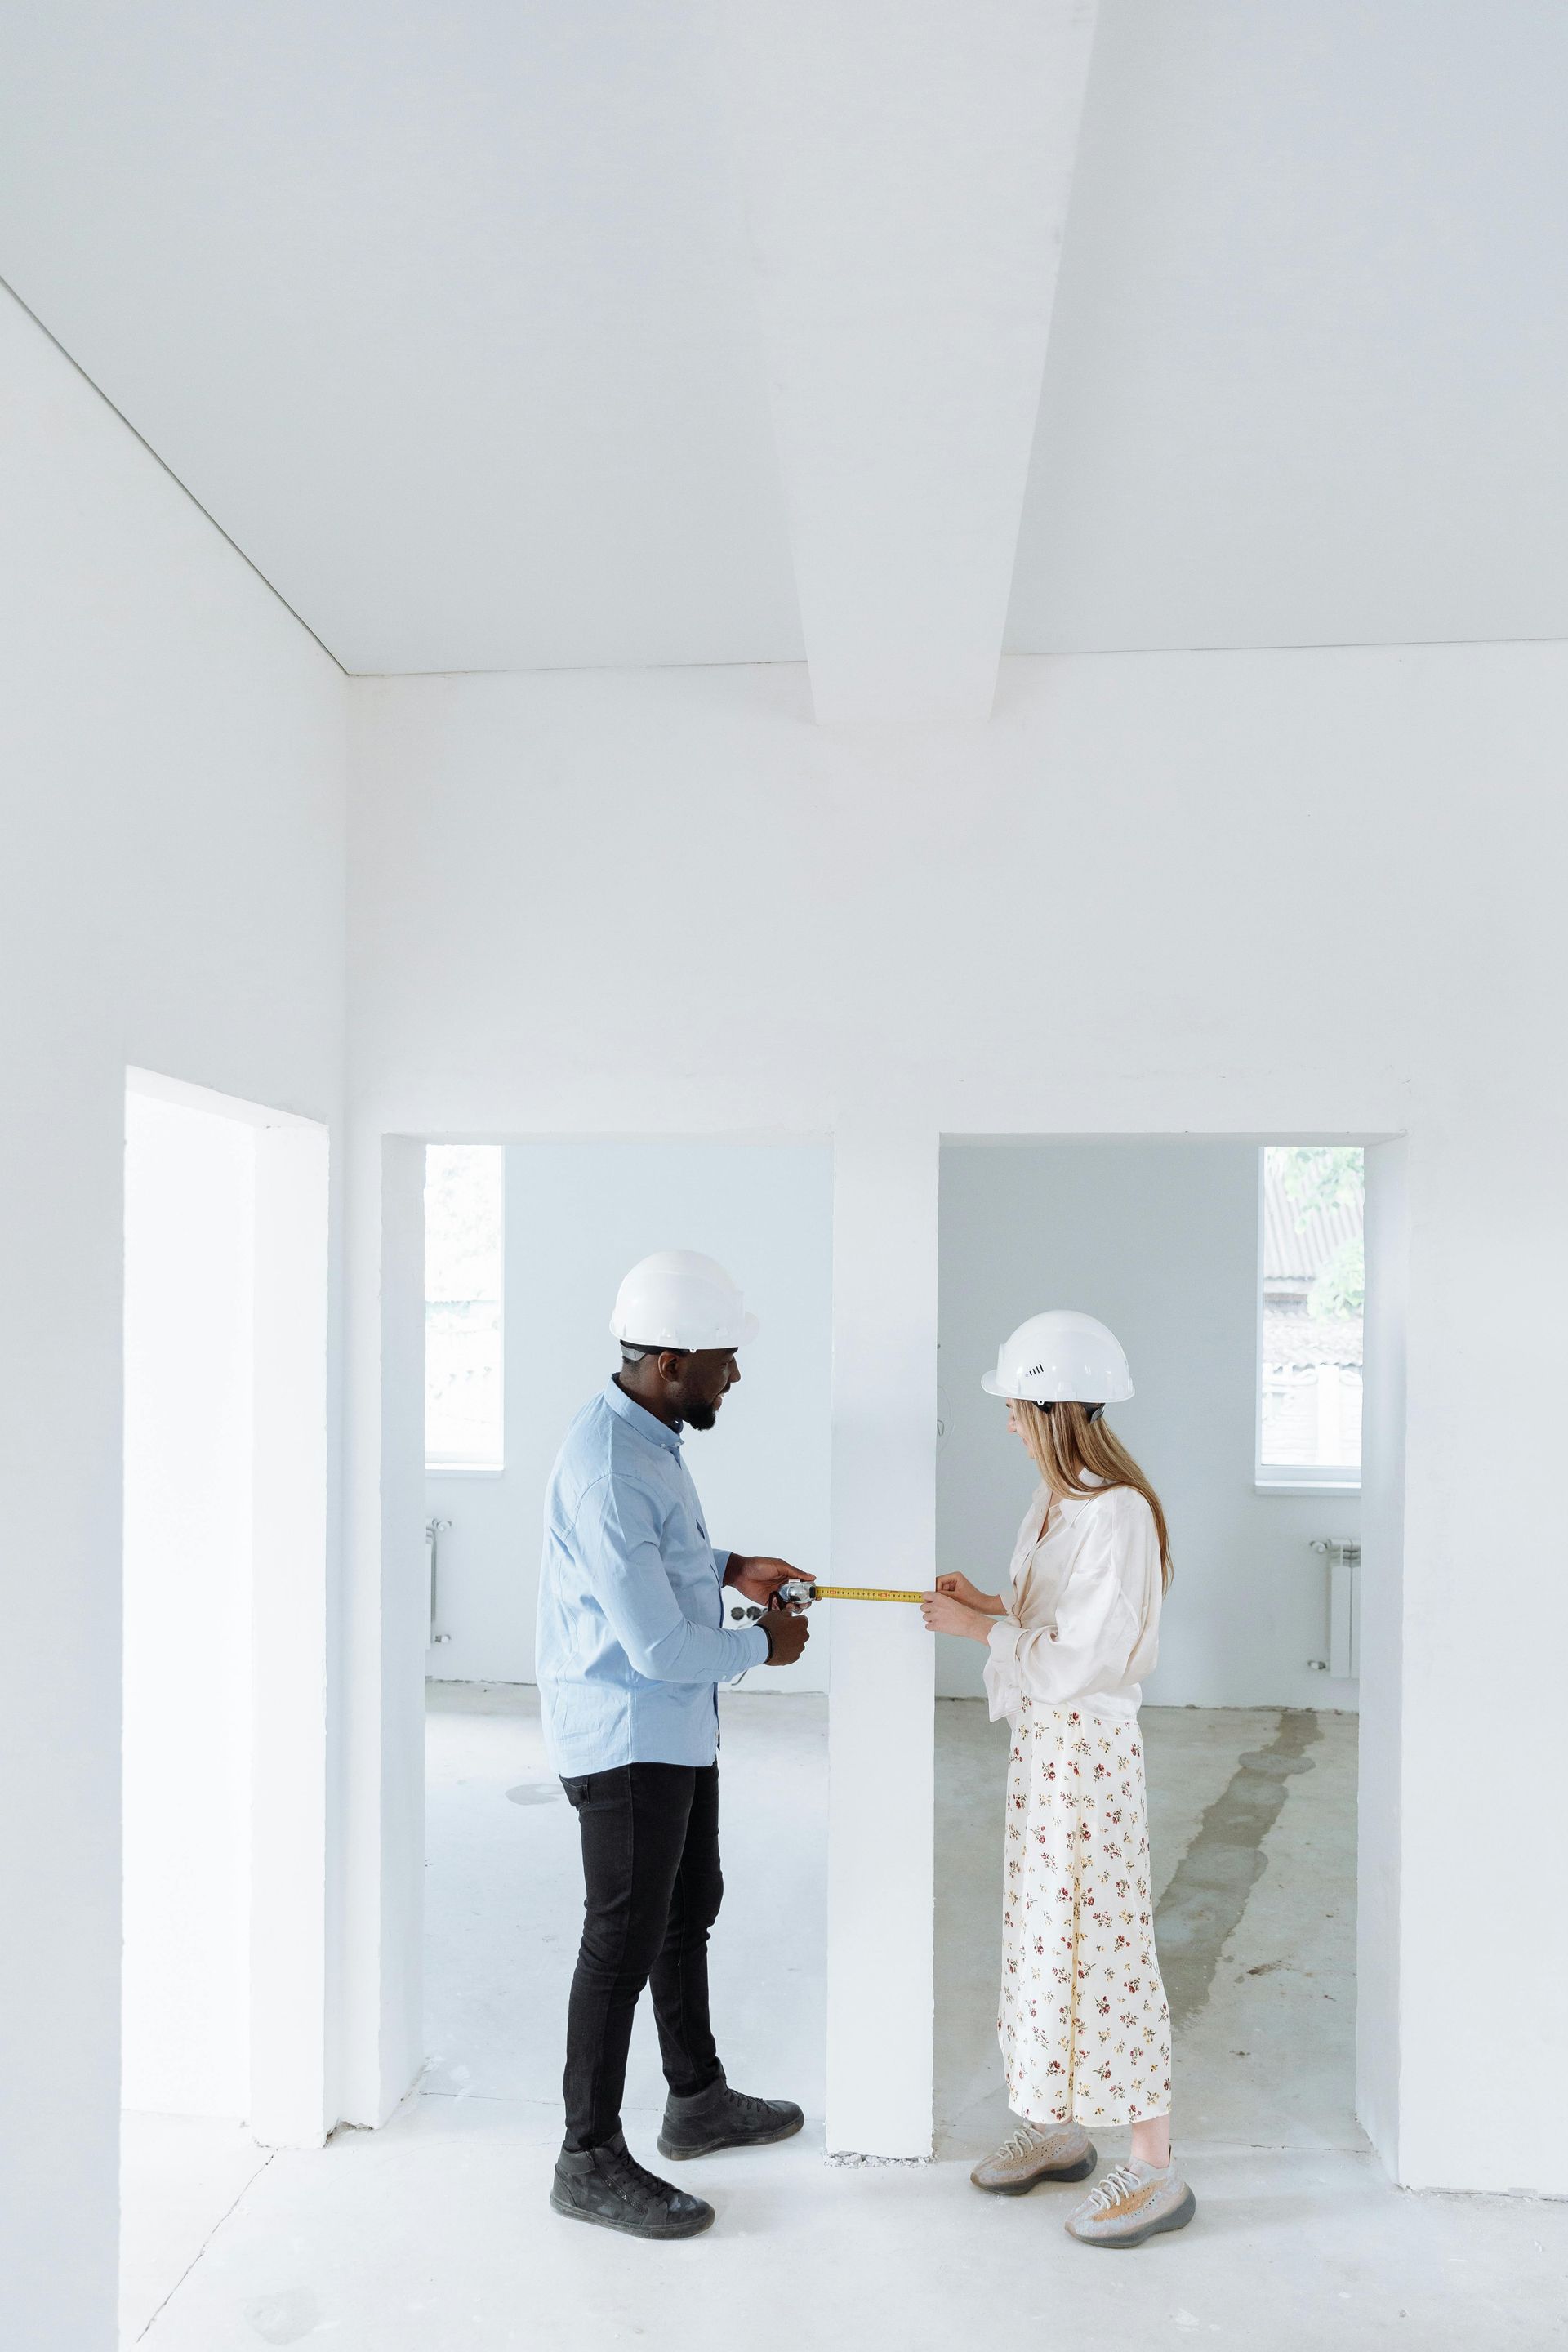
4. Check for Any Structural Changes
If your renovation involves moving or adding walls, removing load-bearing structures, or making any changes to the home’s support system, make sure everything is structurally sound before proceeding to drywall.
- Structural Inspections: If you're making major structural changes, such as removing load-bearing walls or adding beams, it’s essential to get the necessary permits and have a structural engineer check that everything is properly supported.
- Post-Pour Adjustments: If you’ve poured concrete or made structural changes in the foundation or slab, be sure the concrete has properly cured and there are no moisture issues that could affect drywall installation.
5. Complete the HVAC and Ventilation Work
Air ducts, vents, and heating systems should be completely installed before drywall goes up. This includes any heating, ventilation, and air conditioning (HVAC) components. Not only will this make the drywalling process smoother, but it will also prevent future disruptions to your HVAC system.
- Ductwork: Ensure that ducts are in place, sealed, and insulated if needed, particularly in areas like attics or crawl spaces. You don’t want to try to install ductwork after the drywall has gone up.
- Vents: Make sure that all vent openings are properly framed and positioned so that they are accessible after drywall is hung. Install any vent boxes or plates that need to be in place.
- Air Filtration and Humidity Control: If your home requires an air filtration or humidity control system (like a dehumidifier in basements), it should be installed and functional before drywalling.
6. Plan for Future Maintenance
Drywall is a permanent element in your renovation, but it doesn’t have to be an obstacle if you need to access systems behind it in the future. Here are a few things to consider:
- Access Panels: If there are areas where plumbing, electrical, or HVAC systems will require maintenance down the road, install access panels. This could be behind a bathroom sink or an electrical panel.
- Wiring and Piping: If you think you may need to make additional changes to wiring or plumbing later, plan for flexibility in your design, such as leaving certain areas of the wall without drywall or using removable panels.
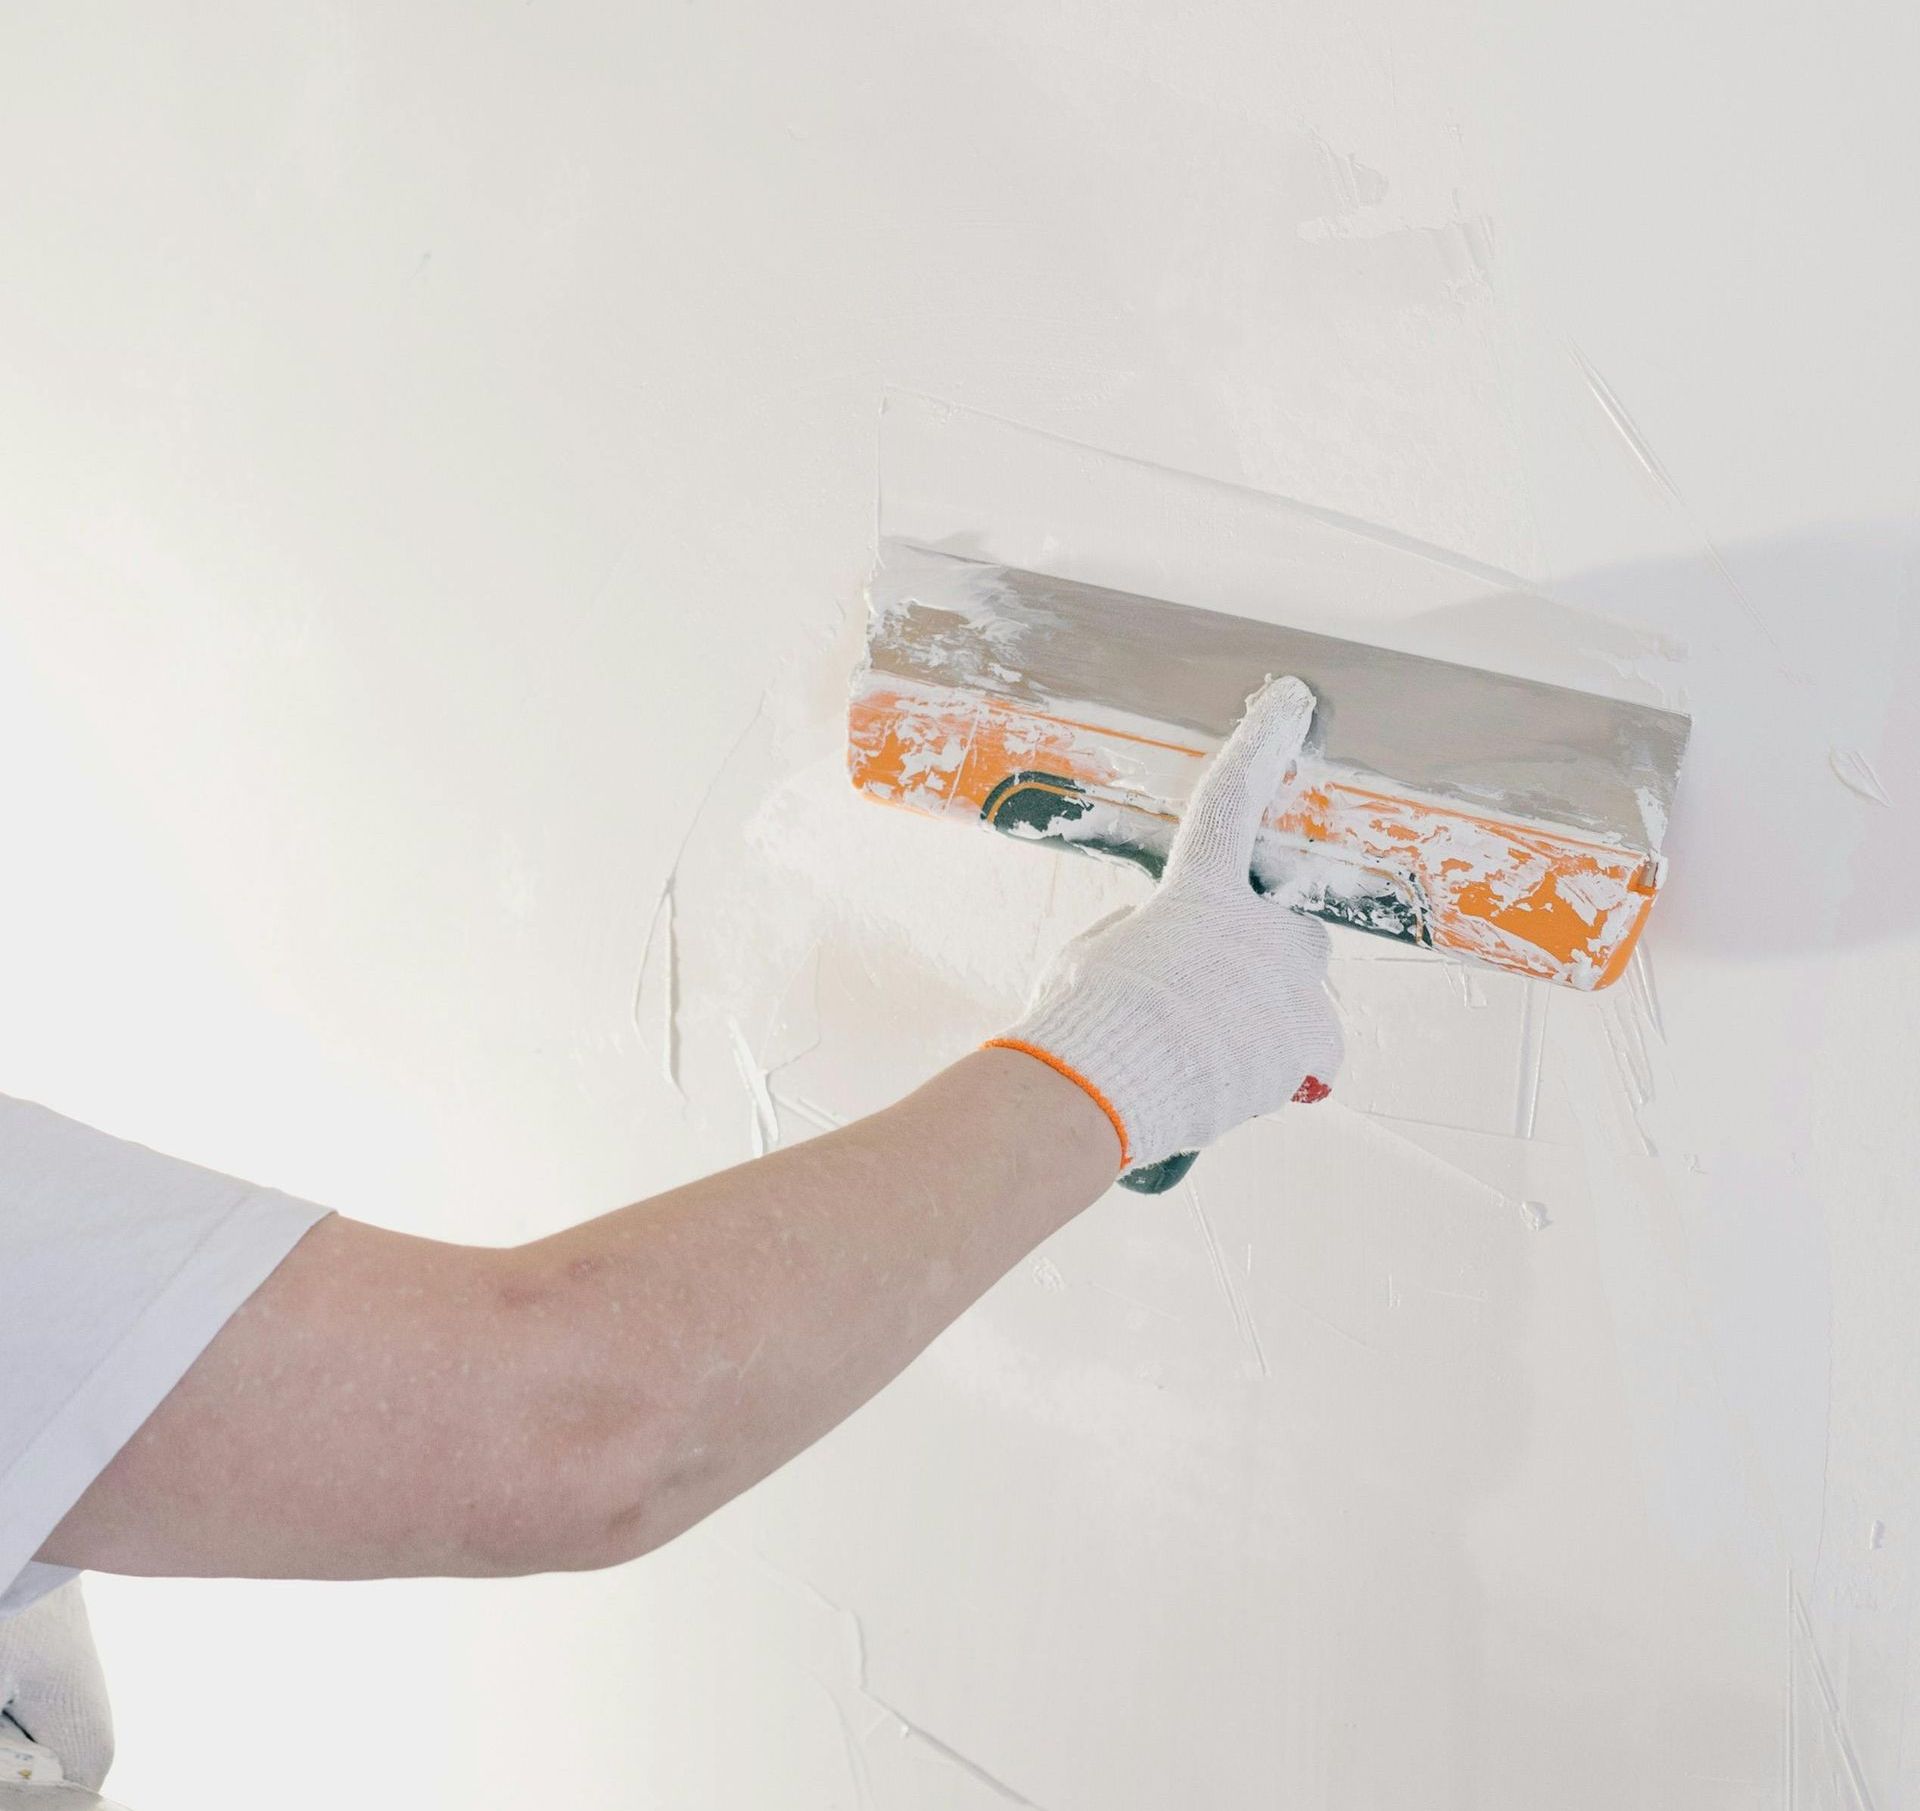
7. Prep for Drywall Delivery and Installation
Once all the preparatory work is done, it’s time to focus on the logistics of drywall delivery and installation. Drywall sheets are heavy and cumbersome, so it’s crucial to have a plan for transporting them to your work area.
- Clear the Space: Make sure that the area where drywall will be installed is clear and accessible. There should be enough space for workers to move freely and place drywall sheets without damage.
- Confirm Material Requirements: Check your measurements to ensure you have the right amount and type of drywall. Different areas of your home may require different drywall types (e.g., moisture-resistant drywall in bathrooms or fire-rated drywall in kitchens).
- Drywall Fasteners: Ensure you have enough drywall screws or nails for the installation. The spacing of these fasteners is critical for the stability and durability of your drywall.
Conclusion
Preparing your renovation project for drywall is an essential step that ensures the quality and longevity of your work. By checking your framing, completing plumbing and electrical work, ensuring insulation is installed, and planning ahead for future maintenance, you set the stage for a successful drywall installation. Take your time with these preparatory steps, and your drywall installation will go much more smoothly, resulting in a beautiful and durable finished space. And when you are ready for pro drywall installation or repair, contact Grand Rapids Drywall Services!