Easy Drywall Repairs
New Products and Techniques for Easy Drywall Repairs in Your Home
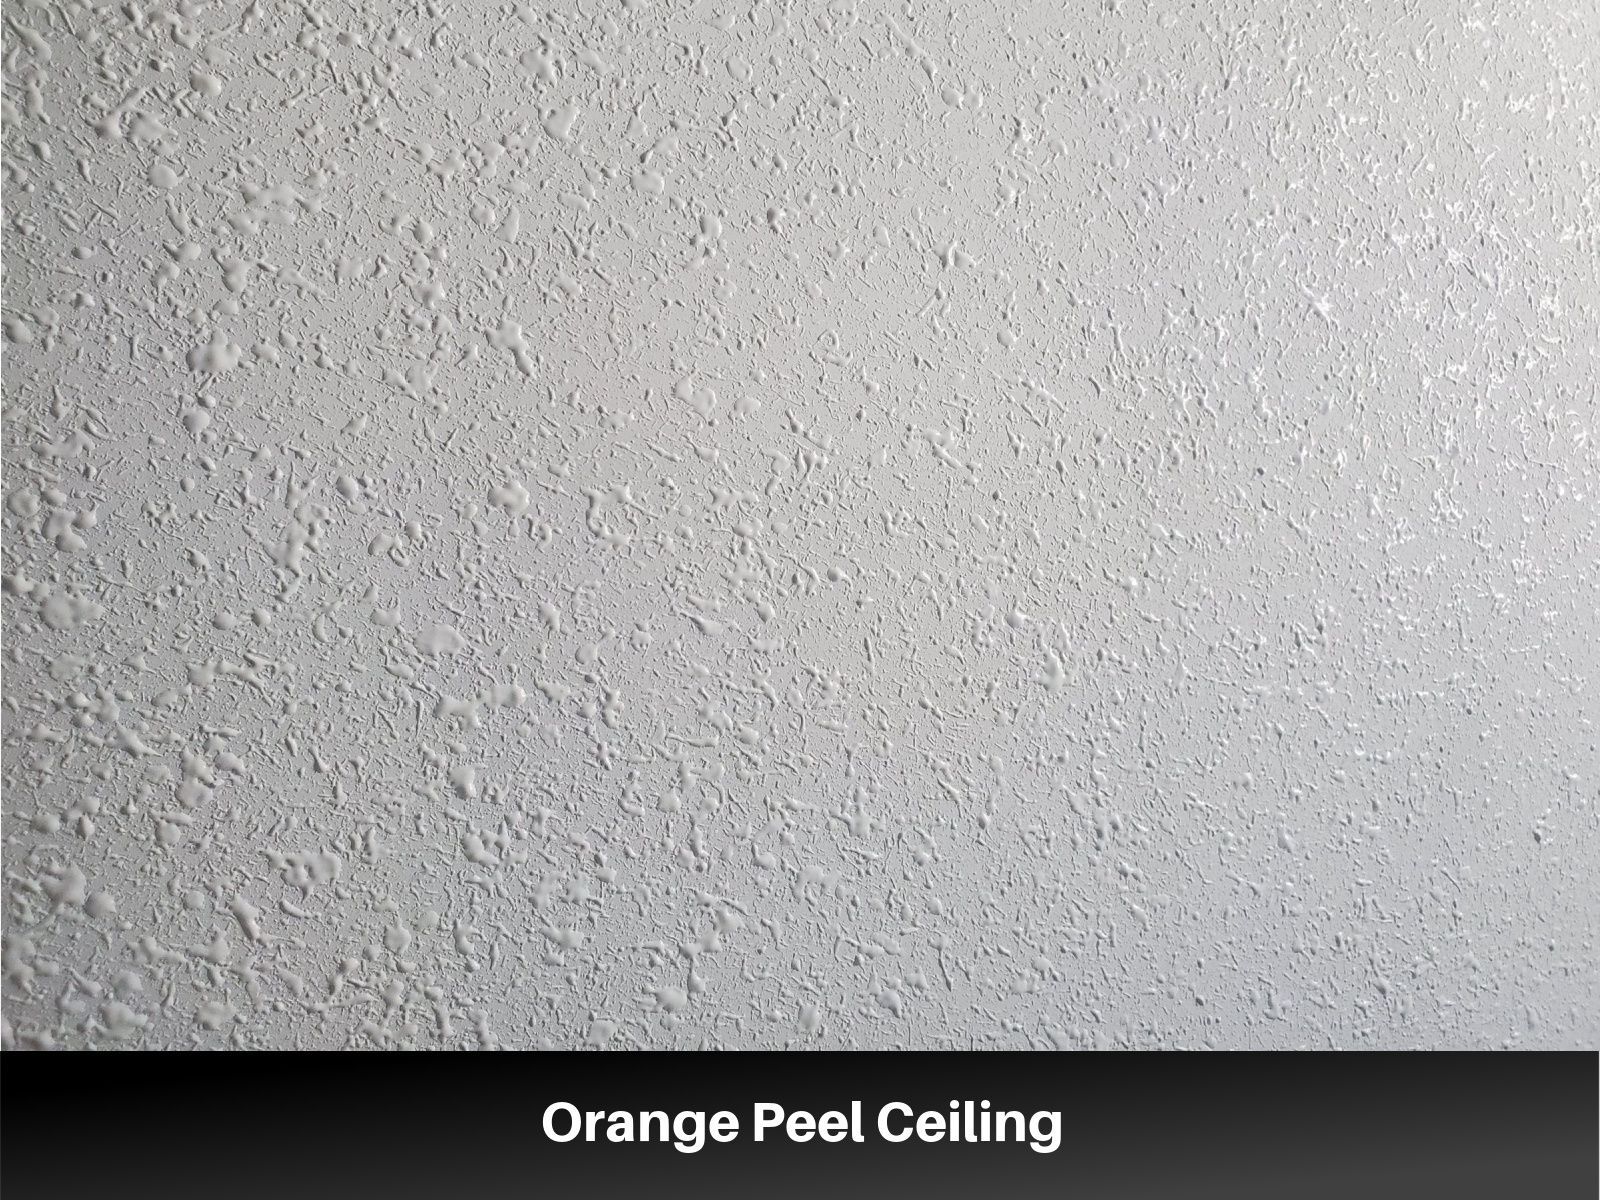
Drywall is one of the most common materials used in residential construction. It's cost-effective, relatively easy to install, and offers a smooth surface for painting. However, drywall is also prone to damage, whether from accidental holes, dents, cracks, or water damage. Over time, this damage can degrade the aesthetic appeal of your home. Fortunately, the process of repairing drywall has become simpler and more efficient thanks to new products and advanced techniques. In this blog post, we will explore the latest tools, materials, and methods that make drywall repairs easier than ever before.
Why Drywall Gets Damaged
Before diving into the solutions, it’s important to understand the common causes of drywall damage. Drywall can suffer from several types of issues, including:
- Holes and Dents: These occur from accidents, such as a doorknob hitting the wall, a kid playing soccer indoors, or furniture being moved around. Small holes can be repaired with minimal effort, but larger holes may require more attention.
- Cracks: Drywall can develop cracks due to settling of the house, structural issues, or shifts in temperature and humidity levels. These cracks often appear in the joints between panels or around windows and doors.
- Water Damage: Leaky roofs, plumbing issues, or even high humidity levels can lead to water stains and soft spots in drywall. Water-damaged drywall can weaken over time and, if left untreated, may lead to mold growth.
- Nail Pops: These occur when the nails or screws that hold the drywall to the studs work their way loose due to temperature changes or the house settling.
In the past, repairing drywall could be a time-consuming and messy process. However, thanks to modern products and methods, DIY homeowners can now tackle these repairs with ease and efficiency.
New Products for Drywall Repair
The market is full of innovative products designed to simplify drywall repair. Whether you're fixing a small hole or a larger section of damaged drywall, these tools and materials can help make the process faster and more straightforward.
1. Pre-Mixed Patch Compounds
Gone are the days of mixing joint compound from scratch. Many companies now offer pre-mixed patch compounds in various formulations designed specifically for drywall repairs. These compounds are ready to use right out of the container and provide a smooth, consistent finish. Some are designed for specific repairs, such as quick-drying compounds for minor holes, while others are formulated for larger repairs or surface smoothing.
2. Spackle vs. Joint Compound
Traditionally, joint compound was the go-to material for drywall repairs. However, spackle has become a popular alternative, especially for smaller jobs. It’s lightweight and dries faster than traditional joint compound. It’s ideal for minor cracks and holes in drywall and can be applied in thinner layers. Spackle also tends to shrink less, meaning less sanding is required. For larger repairs or smoothing over seams, joint compound is still the best option.
3. Drywall Repair Patches
For holes, one of the most efficient solutions is drywall repair patches. These self-adhesive patches are designed to cover small to medium-sized holes. The most common types are fiberglass mesh and steel-based patches. The benefit of using these patches is that they provide a sturdy foundation for the joint compound, and they don’t require the use of a backing piece of drywall. Simply place the patch over the hole, apply a layer of compound, and smooth it out.
Fiberglass mesh patches are excellent for preventing cracks in repaired areas, and some even come with an adhesive backing to make application easier.
4. Patch Kits for Larger Holes
For larger holes, you can use drywall repair kits that come complete with all the materials needed to repair the damage. These kits typically include a piece of drywall, a mesh patch, screws, and a putty knife, and they’re perfect for DIYers who want a simple, all-in-one solution. Some kits even offer corner beads and metal reinforcements for added strength and durability in larger repairs.
5. Self-adhesive Mesh Tape
One of the most innovative products for drywall repair is self-adhesive mesh tape. This tape helps reinforce the seams where two pieces of drywall meet. It’s commonly used when repairing drywall joints or cracks. The mesh design allows for easy application, as it sticks to the wall without the need for additional adhesives. Once the tape is applied, you can cover it with a thin layer of joint compound, making the seam nearly invisible once the compound is sanded smooth.
6. Fast-Drying Joint Compound
For those who need to make quick repairs, fast-drying joint compounds are a game changer. Unlike traditional joint compound, which can take hours or even days to fully cure, these compounds dry within an hour or two. This makes them ideal for homeowners who need to complete repairs quickly or have multiple small areas to work on. Some fast-drying compounds are even sandable within 30 minutes, allowing you to move on to the next phase of the repair without a lengthy waiting period.
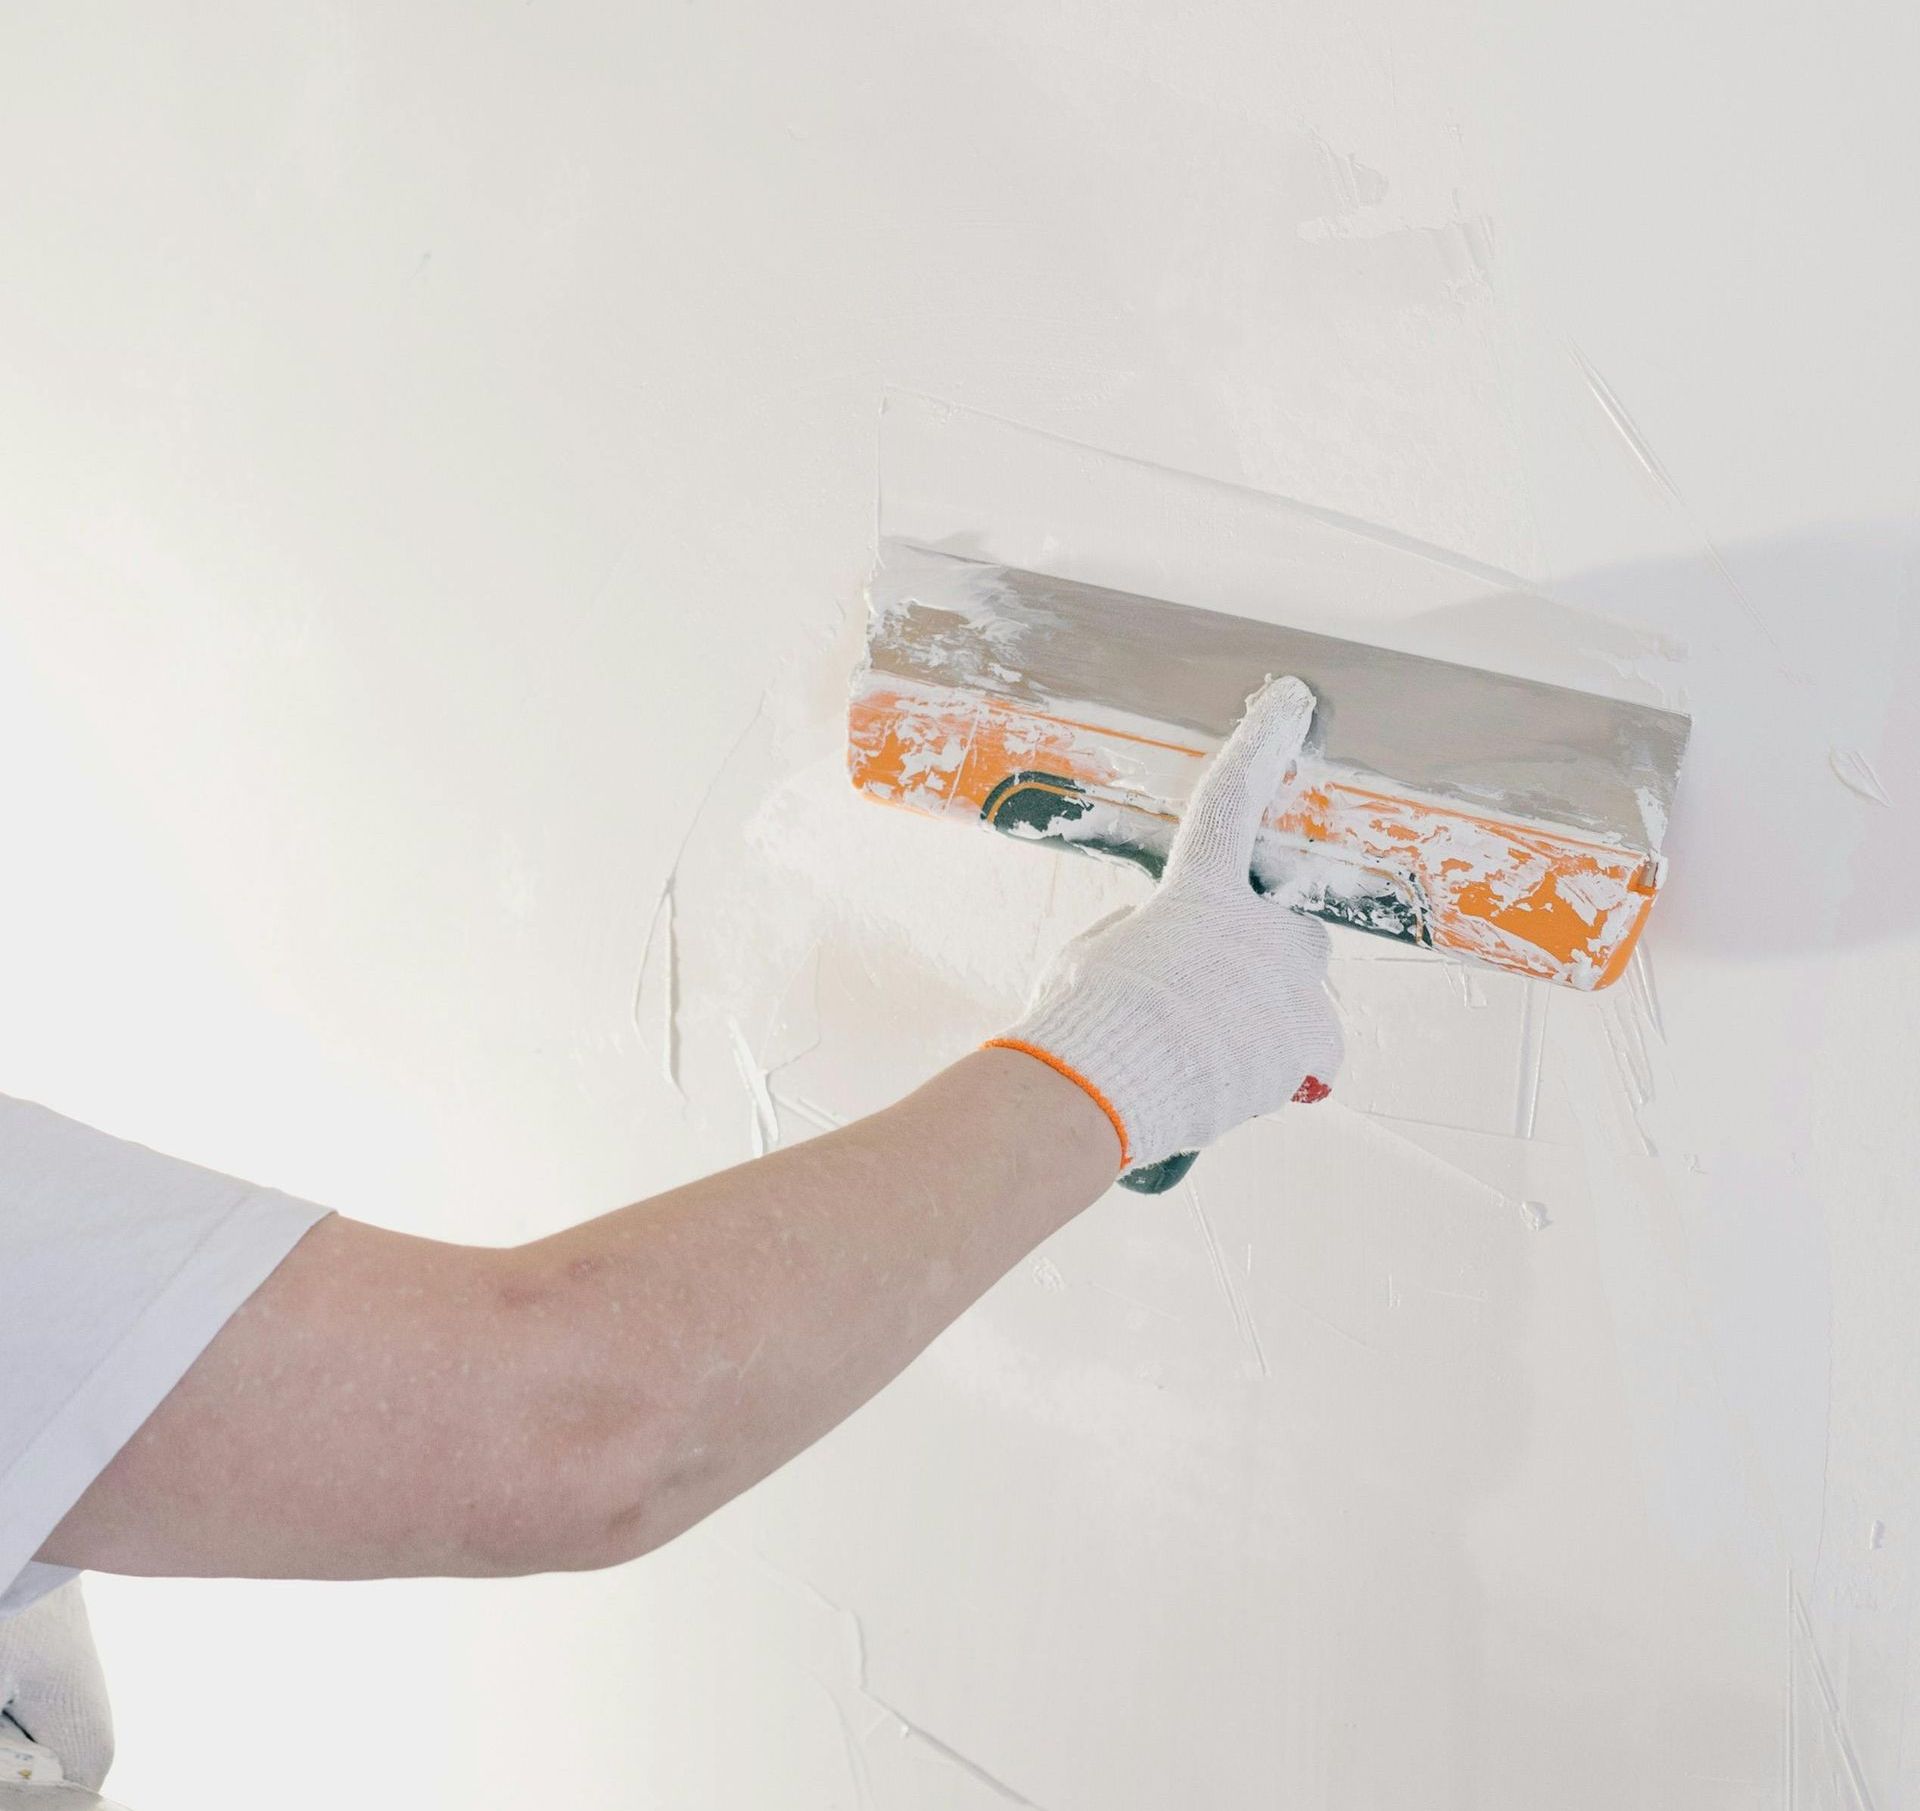
7. Electric Sanders
Sanding drywall compound can be one of the messiest parts of the repair process. To reduce the hassle, many homeowners now opt for electric sanders designed specifically for drywall. These sanders often come with a vacuum attachment that helps collect the dust as you sand, making the process cleaner and more efficient. Electric sanders also reduce the amount of elbow grease required, allowing you to achieve a smooth, even finish with less effort.
8. Drywall Repair Tools with Built-in Compound Dispensers
Another useful innovation is tools that combine multiple functions into one. For instance, some putty knives and trowels now come with built-in compound dispensers. These tools allow you to apply the joint compound directly onto the repair area while smoothing and leveling the compound at the same time. This can save you a lot of time and effort by eliminating the need for multiple tools.
9. Waterproof Drywall
If you're dealing with water damage in areas like bathrooms or kitchens, it's worth considering the use of waterproof drywall or moisture-resistant drywall products. These materials are designed to prevent moisture absorption, which helps prevent mold and mildew growth. Using these materials during repairs in high-moisture areas can help prevent future issues with water damage.
Techniques for Easy Drywall Repairs
Now that we've covered some of the new products, let's take a look at techniques for repairing drywall. Whether you’re a novice or an experienced DIYer, using the right approach is essential to achieving a flawless finish.
1. Small Hole Repair
Small holes (up to 1 inch in diameter) are among the easiest drywall repairs you can tackle. Here's a step-by-step guide:
- Clean the Hole: Remove any loose drywall or debris around the hole.
- Apply Spackle or Joint Compound: Using a putty knife, spread a thin layer of spackle or joint compound over the hole. Make sure to feather the edges to blend the compound into the surrounding wall.
- Smooth and Dry: Allow the compound to dry, then sand it smooth using a fine-grit sandpaper.
- Prime and Paint: Once the patch is smooth, apply a coat of primer and then paint over the patched area to match the rest of the wall.
2. Repairing Larger Holes (Up to 6 Inches)
For larger holes (such as those made by doorknobs or furniture), use a repair patch or mesh tape for added strength. Here’s how:
- Cut the Hole into a Neat Shape: Use a utility knife to cut the hole into a square or rectangular shape to make it easier to patch.
- Install the Patch: For a self-adhesive mesh patch, apply it directly over the hole. For a drywall patch, cut a piece of drywall to fit the hole, and secure it with drywall screws to the studs.
- Apply Joint Compound: Spread a layer of joint compound over the patch, feathering the edges. Allow it to dry, then sand smooth.
- Repeat if Necessary: For a flawless finish, apply another coat of joint compound, sand it smooth, and repeat until the surface is even.
3. Cracks in Drywall
Cracks can often be fixed by applying mesh tape or using pre-mixed joint compound. Here's how to tackle them:
- Clean the Crack: Use a utility knife to clean any debris from the crack.
- Apply Mesh Tape: For small cracks, apply mesh tape over the crack to prevent further movement.
- Cover with Joint Compound: Spread a thin layer of joint compound over the mesh tape or directly over the crack. Feather the edges to blend it in with the surrounding area.
- Dry and Sand: Allow the compound to dry, then sand it smooth. You may need to repeat the process several times to achieve a seamless repair.
4. Fixing Nail Pops
Nail pops occur when the nails securing the drywall to the studs come loose. To repair:
- Remove the Nail: Use a hammer or a pry bar to remove the nail.
- Re-secure the Drywall: Drive a drywall screw just above the original nail location to secure the drywall to the stud.
- Cover the Hole: Apply joint compound over the hole left by the nail, then smooth and sand it once it’s dry.
- Prime and Paint: Finally, prime and paint over the repaired area.
5. Water Damage Repair
Water damage requires special attention to ensure that mold and mildew don’t become an issue. Here’s how to address water-damaged drywall:
- Identify the Source of the Water: Before repairing, ensure the source of the water leak is fixed (e.g., plumbing leak, roof leak).
- Remove Wet Drywall: If the drywall is soaked or crumbling, cut out the damaged sections and discard them.
- Treat for Mold: Use a mold-killing solution on any affected areas before replacing the drywall.
- Install New Drywall: Cut a new piece of drywall to fit the gap and secure it in place.
- Seal and Paint: Use mold-resistant paint and primer to help prevent future water damage.
Conclusion
Drywall repairs have come a long way thanks to new products and techniques. With the right tools and materials, even DIY beginners can make professional-looking repairs in no time. From pre-mixed compounds and fiberglass mesh patches to fast-drying compounds and specialized sanding tools, the options available today make drywall repairs easier, faster, and cleaner than ever before. Whether you're fixing small holes, cracks, or larger damaged areas, these innovations can help restore your drywall with minimal mess and maximum results.