Drywall Repair: Essential Techniques for a Flawless Finish
Grand Rapids Drywall Services provide a wide range of professional services to meet your needs. We promise to provide every service with a smile and to your highest level of satisfaction.
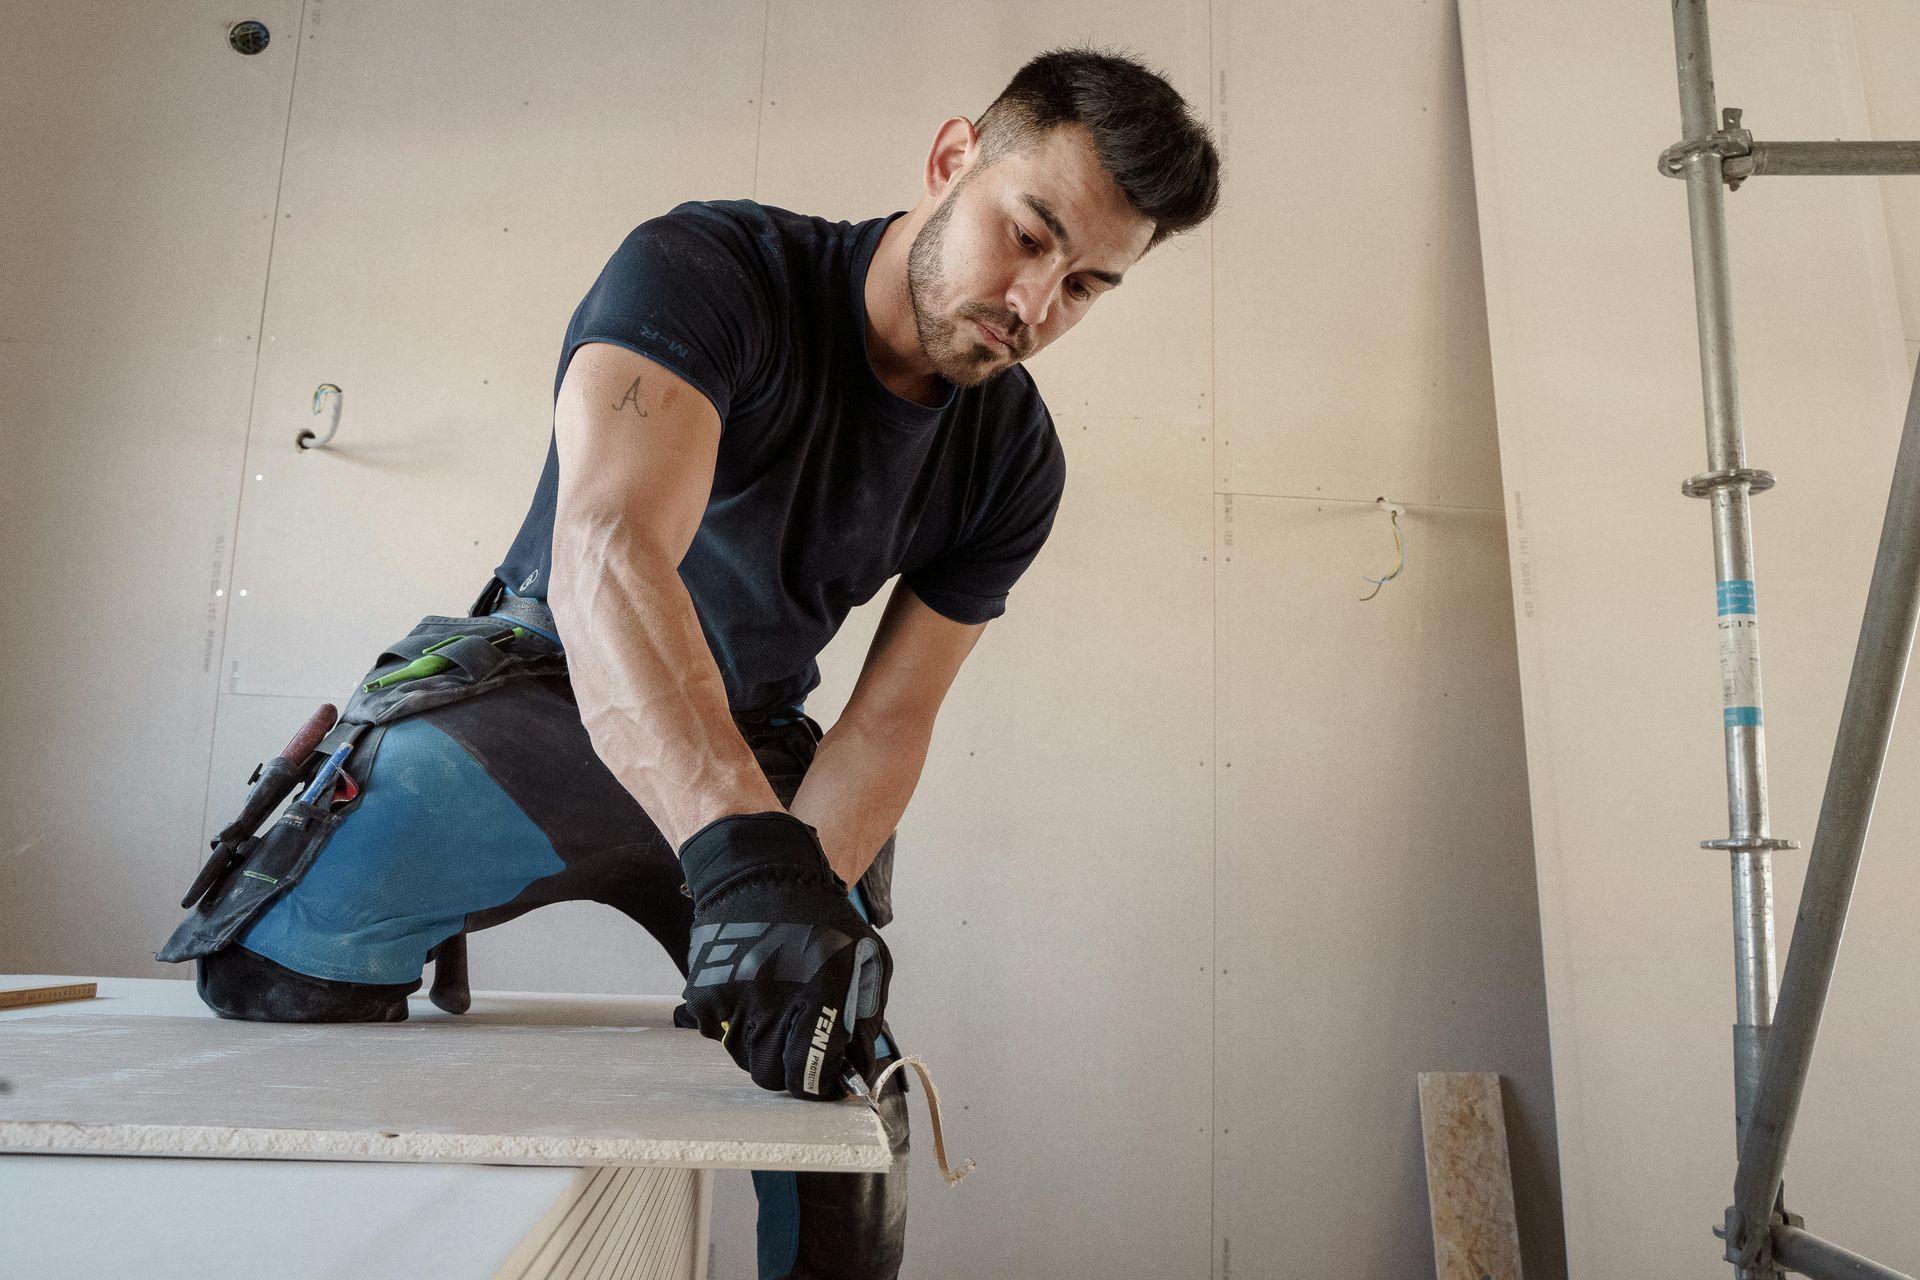
Drywall repair is an essential skill for homeowners and DIY enthusiasts. From handling small dents to addressing large holes, mastering this craft can save you money and improve the aesthetics of your living space. Knowing the right techniques and tools for drywall repair will help you achieve a professional finish with minimal effort.
Whether you are dealing with common issues like nail pops or water damage, it is important to understand the repair process to effectively tackle each situation. A well-repaired drywall surface enhances the overall look of your home and prevents further damage. By learning how to repair drywall properly, you can maintain the integrity of your walls and increase your home’s value.
This article will guide you through the various methods of drywall repair, providing you with practical tips and insights that cater to all skill levels. No matter your experience, with the right instructions, you can confidently restore your drywall to its original condition.
Understanding Drywall
Drywall is a widely used building material that offers a variety of characteristics essential for interior construction. Knowledge of its composition and common issues can help in effective maintenance and repairs.
Composition and Types
Drywall is primarily made of gypsum plaster sandwiched between two sheets of heavy paper. This composition provides fire resistance and sound-dampening properties. Standard drywall comes in multiple thicknesses, commonly 1/2 inch and 5/8 inch.
Types of drywall include:
- Standard Drywall: Suitable for most interior walls and ceilings.
- Moisture-Resistant Drywall: Ideal for bathrooms and kitchens, it is treated to resist humidity.
- Fire-Resistant Drywall: Often used in areas requiring additional fire protection, like garages.
- Soundproof Drywall: Made with added materials to reduce sound transmission.
Each type serves specific applications, enhancing the functionality of interior spaces.
Common Drywall Issues
Drywall is susceptible to various issues that can affect its appearance and integrity. Some common problems include:
- Cracks: Resulting from settling or temperature changes, this can be a simple cosmetic issue or a sign of structural problems.
- Water Damage: Occurs from leaks or excessive humidity, leading to mold growth and weakening of the material.
- Holes: These can occur due to impacts, such as furniture bumps or accidental punctures.
Regular inspection and timely repairs can mitigate the severity of these issues, ensuring the longevity of drywall installations.
Tools and Materials
Having the right tools and materials is essential for effective drywall repair. This ensures a smoother process and better results. Below are detailed descriptions of the most important items for your project.
Essential Tools for Repair
- Utility Knife: A sharp utility knife is necessary for cutting drywall sheets and trimming mesh tape. Look for one with a retractable blade for safety.
- Drywall Saw: This handheld saw helps cut holes or shape edges in drywall. A fine-tooth model provides better control for detailed work.
- Mud Pan and Trowel: A mud pan holds joint compound, while a trowel is used for applying it. Choose a stainless steel trowel because it resists rust and corrosion.
- Sanding Block or Sponge: After applying joint compound, sanding helps achieve a smooth finish. A sanding sponge conforms to the surface for even results.
- Drill and Drywall Screws: A power drill is crucial for securing drywall sheets. Use drywall screws, as they reduce the risk of cracking and provide a strong hold.
Materials Needed for Drywall Repair
- Drywall Sheets: Choose the appropriate thickness (typically 1/2 inch) for your wall type. For moisture-prone areas, consider moisture-resistant (green board) drywall.
- Joint Compound: This compound is essential for filling seams and fixing surface imperfections. Choose a pre-mixed option for ease of use.
- Drywall Tape: Used to cover seams between drywall sheets. Fiberglass mesh tape is stronger and less prone to cracking compared to paper tape.
- Primer and Paint: After finishing your repair, priming prevents the repaired area from absorbing paint unevenly. Select a paint that matches your existing wall color for a seamless look.
- Patching Material: For larger holes, consider ready-made patch kits or quick-setting compounds for added strength.
Preparation Steps
Preparation is essential for a successful drywall repair project. Adhering to safety procedures and surface preparation techniques ensures durability and a professional finish.
Safety Procedures
Before starting any repair, prioritize safety. Wear protective gear, including safety goggles, gloves, and a dust mask, to safeguard against debris and dust.
Ensure proper ventilation in the work area. Open windows and use fans if necessary to circulate air. If working with drywall compounds, be cautious of any harmful fumes.
It's also important to secure the work area. Move furniture away and cover surfaces with drop cloths to prevent damage. Store tools safely and keep them organized to avoid accidents.
Surface Preparation Techniques
Start by assessing the damage. Identify the size and type of repair required, whether it's a small hole or a larger section of drywall. Use a utility knife to trim any loose or damaged drywall edges.
For small holes, a spackling compound may suffice. If the damage is more extensive, cut a patch of drywall slightly larger than the hole. Secure it into place with screws, ensuring it's flush with the surrounding surface.
Next, sand the area lightly to create a smooth surface for the repair compound. Use 120-grit sandpaper for best results. Finally, clean the surface with a damp cloth to remove dust before applying any repair materials.
Drywall Repair Techniques
Effective drywall repair techniques vary based on the size and type of damage. Knowing how to address small holes, large damages, and cracks is crucial for achieving a seamless finish.
Repairing Small Holes
Small holes, often caused by nails or screws, can be fixed easily. Use a spackle or patching compound for this task.
- Clean the area: Remove any loose debris around the hole.
- Apply spackle: Use a putty knife to fill the hole with spackle. Press firmly to eliminate air pockets.
- Smooth it out: Feather the edges with the putty knife to blend into the surrounding wall.
- Sand and paint: Once dry, lightly sand the area and paint to match the wall.
Fixing Large Damages
Large damages require a different approach, often necessitating a patch. This can include holes from accidents or extensive damage.
- Cut a patch: Create a patch from new drywall. The size should slightly exceed the damage.
- Prepare the area: Cut a square around the damage, ensuring clean edges.
- Attach the patch: Use drywall screws to secure the patch into place.
- Use joint compound: Apply joint compound around the edges, smoothing it out. Allow drying time between coats.
- Finish with sanding and painting: Once it’s thoroughly dry, sand the surface and paint to ensure uniformity.
Tackling Cracks and Dents
Cracks and dents may arise from settling or impacts. Addressing them promptly helps maintain wall integrity.
- Identify the crack: Determine whether it’s a hairline crack or wider.
- Prepare the crack: Clean debris from the crack. For wider cracks, use a utility knife to create a V-shape.
- Use joint compound: Fill smaller cracks with compound and smooth it out. For larger ones, apply a mesh tape for reinforcement.
- Sand the surface: Once the compound is dry, sand it to achieve a smooth finish.
- Paint for a seamless look: After sanding, repaint the area to blend it with the rest of the wall.
Finishing Touches
Achieving a polished look after drywall repair involves meticulous attention to detail in the finishing touches. Sanding ensures a smooth surface, while applying primer and paint creates a seamless blend with the surrounding walls.
Sanding for Smoothness
Sanding is crucial for eliminating imperfections. Start with coarse sandpaper (around 80-grit) to level the repaired area, then gradually move to a finer grit (120 or 150) for a smooth finish.
When sanding, use a sanding block or pole sander for even results. Ensure the area is well-ventilated, and always wear a mask to avoid inhaling dust.
After sanding, wipe down the surface with a damp cloth to remove dust particles. This helps prepare for painting and improves adhesion.
Applying Primer and Paint
Once sanding is complete, apply a quality primer to the repaired area. Primer helps seal the surface and enhances paint adherence, ensuring an even finish. Use a paintbrush for edges and a roller for larger areas.
Allow the primer to dry fully according to the manufacturer's instructions. This step is essential for achieving true color and uniformity.
After the primer, apply at least two coats of paint for optimal coverage. Choose a paint that matches the existing wall finish. Between coats, light sanding can help create a smoother surface.
Drywall Texturing
Texturing drywall enhances the aesthetic appeal and can help conceal imperfections. There are various methods used to achieve different textures, and it is crucial to match existing textures when making repairs. The following sections will explore basic texturing methods and how to replicate existing textures.
Basic Texturing Methods
Several popular techniques exist for drywall texturing. Here are some common methods:
- Knockdown: This method uses a spray to apply joint compound, followed by a knockdown knife to flatten the peaks. It creates a mottled, three-dimensional effect.
- Popcorn: Often used for its sound-dampening properties, popcorn texture is achieved by spraying an aggregate substance mixed with a binder. The result is a bumpy surface that can be painted over.
- Smooth: This technique involves applying a thin layer of joint compound and sanding it down to achieve a flawless finish. It's ideal for a modern, sleek look.
- Stucco: For a more rustic appearance, stucco texture can be applied using a trowel to create thick, layered patterns.
Selecting the right method depends on personal preference and the room's purpose.
Matching Existing Texture
When repairing drywall, matching the existing texture is essential for a seamless appearance. Start by identifying the type of texture previously used. This can usually be done by examining the surface closely.
To replicate the texture:
- Gather Materials: Use a similar joint compound or texture spray as the original.
- Test on a Scrap Piece: Before applying to the wall, practice on a scrap piece of drywall. This allows for adjustments.
- Technique: Use the same tools as the original application—spray gun, brush, or trowel—as the method affects the final look.
- Color Matching: Don't forget to match the paint color after the texture has dried.
Careful attention to detail ensures your repair will blend nicely with the surrounding area.
Tips and Tricks
Mastering drywall repair involves knowing efficient methods and common pitfalls. The following tips will help streamline your process and enhance the quality of your work.
Efficient Repair Workflow
- Gather Materials: Before starting, gather all necessary materials. This includes joint compound, a putty knife, sandpaper, and a sponge. Having everything on hand minimizes interruptions.
- Clean the Area: Ensure the surface is clean and dry. Remove any loose debris or dust, as this will help the joint compound adhere better.
- Prep Patches: For small holes, use a patching compound. For larger areas, consider using mesh tape to reinforce the repair. Apply a thin layer of compound over the tape smoothly.
- Multiple Coats: Apply multiple thin coats of compound, allowing dry time between layers. Thin layers dry faster and reduce the risk of cracking.
- Sanding: Sand the final coat lightly with fine-grit sandpaper for a smooth finish. Don’t rush this step; it is key for a seamless look.
Avoiding Common Mistakes
- Skipping Prep Work: Skipping steps like cleaning or drying can lead to poor adhesion. Always ensure the surface is ready before applying any materials.
- Overloading Compound: Applying too much compound at once can cause sagging. Use a putty knife to spread it thinly, ensuring a level surface.
- Rushing Drying Time: Patience is crucial. Don’t try to speed up the drying process with external heat sources; this can cause cracks.
- Neglecting Texture: If your wall has a specific texture, replicate it after repairs. Use a sponge or brush technique while the compound is slightly wet to blend it.
- Not Sealing: After sanding, apply a primer before painting. This prevents the patched area from soaking up too much paint, resulting in inconsistent color.
Drywall Repair in Special Conditions
Repairing drywall requires specific techniques when faced with unique environments. High-moisture spaces and ceiling repairs present distinct challenges that need careful consideration.
High-Moisture Environments
In areas with high humidity, such as bathrooms and basements, using moisture-resistant drywall is crucial. This type of drywall, often labeled as “green board,” is specifically designed to withstand damp conditions.
Before any repair, ensure the area is dry. Identifying sources of moisture is vital to prevent future damage. If mold is present, remove affected sections and treat the area with a mold-inhibiting solution.
When repairing, use water-resistant joint compounds and tape. These products help prevent sagging and deterioration over time. Ensure proper ventilation to accelerate drying. Installing a dehumidifier can further reduce moisture levels, enhancing the longevity of the repair.
Repairing Drywall Ceilings
Ceiling repairs often involve handling gravity and ensuring safety. Use scaffolding or a sturdy ladder to reach high areas securely. Ensure the area is well-lit to see any imperfections that need attention.
Identify if the damage is due to moisture or structural issues. For minor holes, a patch can be applied using joint compound. Larger damages may require patching with a new piece of drywall. Cut the sheet to fit, secure it in place, and cover seams with joint tape.
After applying the joint compound, feather the edges for a smooth finish. Sand lightly when dry, and finish with primer and paint suitable for ceiling surfaces. This approach ensures a seamless blend with existing surfaces.
Professional vs. DIY Drywall Repair
Deciding between professional help and a DIY approach for drywall repair depends on the complexity of the damage and your own skills. Each option has distinct advantages and considerations that can impact the outcome of your project.
When to Hire a Professional
Hiring a professional is advisable for extensive damage, such as large holes or water damage. Experts can ensure the repair is structurally sound and visually appealing.
Considerations for professional help include:
- Experience and Skill: Professionals have the training to handle complex repairs efficiently.
- Time and Convenience: Hiring someone saves time and effort, allowing you to focus on other projects.
- Quality of Work: A professional offers a guarantee for their work, providing peace of mind.
In cases where the repairs require specialized tools or techniques, enlisting a professional is the best route.
Costs and Considerations
The cost of hiring a professional for drywall repair typically ranges from $50 to $100 per hour, depending on your location. Additional factors include:
- Extent of Damage: More significant repairs generally incur higher costs due to materials and labor.
- Material Costs: High-quality materials increase the repair expense.
- DIY Savings: If you choose to do it yourself, you may only pay for materials, which can range from $10 to $30 for small repairs.
Always weigh the potential costs against the skill required. Assessing your ability to complete the repair without compromising quality is essential before making a decision.
Maintaining Drywall
Proper maintenance of drywall ensures its longevity and minimizes the need for extensive repairs. Regular checks and good care practices can keep your walls looking their best.
Routine Inspections
Regular inspections are essential for detecting issues early. Check for cracks, water damage, and signs of mold. Look for small holes or dents that may worsen over time.
Schedule inspections at least twice a year. Pay extra attention to areas near windows, doors, or plumbing. If these sections show signs of wear, address them promptly to prevent bigger problems.
Keep an eye on humidity levels in your home. High humidity can lead to mold growth, which impacts drywall. Using a dehumidifier can help maintain appropriate levels.
Long-Term Care Practices
To extend the life of your drywall, practice proper cleaning methods. Dust and wipe walls regularly to prevent dirt buildup. Use a soft cloth or a gentle vacuum attachment to remove dust without damaging the surface.
Address minor issues like small dents quickly. Fill them with spackling compound and sand the area smooth. This straightforward maintenance prevents larger repairs later.
Consider applying a fresh coat of paint every few years. This not only enhances appearance but also provides a protective layer. Choose high-quality paint designed for durability.
In moisture-prone areas, such as kitchens and bathrooms, use paint that resists mold and mildew. This proactive approach safeguards your drywall against long-term damage.
Environmental Considerations and Best Practices
When repairing drywall, it's important to consider the environmental impact of materials used. Selecting eco-friendly products can minimize harm.
Material Selection:
- Use low-VOC (Volatile Organic Compounds) paints and primers.
- Choose recycled or sustainable drywall options.
- Consider non-toxic joint compounds.
Waste Management:
- Dispose of old drywall responsibly. Check for local recycling programs.
- Minimize waste by measuring carefully before cutting new drywall.
- Use leftover materials for smaller projects to reduce scrap.
Energy Efficiency:
- Insulate your drywall installation to improve energy efficiency.
- Seal gaps to prevent air leaks, which can lead to higher energy costs.
Safety Practices:
- Wear proper protective gear to prevent inhalation of dust and particles.
- Ensure adequate ventilation when working with compounds and paints.
Implementing these practices not only supports environmental health but also promotes safety and efficiency in drywall repair projects. Keep these considerations in mind for responsible renovations.
How do we work
We would love to help you in any Drywall Repair project that you may have. Contact us today for a free quote!